
How do I invite and manage account members?
Learn how to invite members individually or in bulk, manage roles and permissions, set pricing, apply fees, and remove members from a Team.
Updated 6 November 2026
For: Account owners and admins managing members in Monta Hub
This article covers how to invite members to an Account, give them a name, manage their roles and permissions, set pricing, apply fees, and remove members.
Invite a user to an Account
If you want to share access to your charge points or Account Wallet, you need to invite EV drivers to the Account. The people you are inviting do not need to have a Monta account yet.
-
Open the Account and go to the Members & access tab.
-
Click Invite member.
-
Purpose: select Account membership and click Continue. (To reimburse an employee's home charging, choose Reimbursement instead. See How do I set up reimbursements?)
-
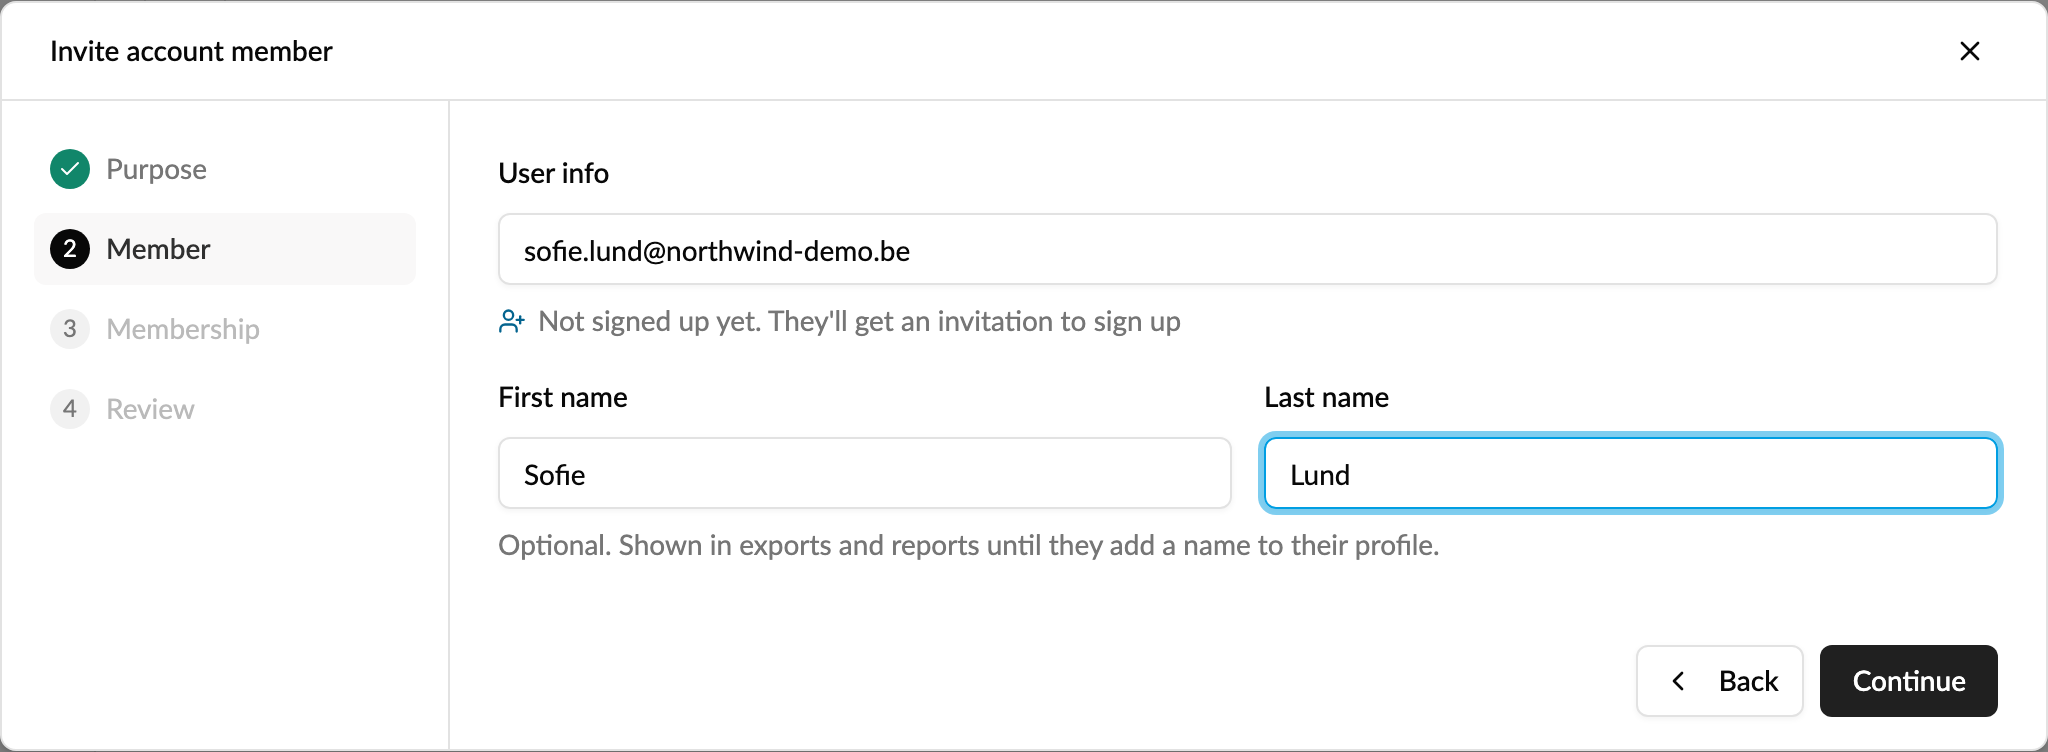
Member: enter the person's email address or phone number. Monta Hub checks whether they've already signed up to Monta. If they haven't, or their profile has no name, you can enter a First name and Last name (optional, see Give a member a name).
-
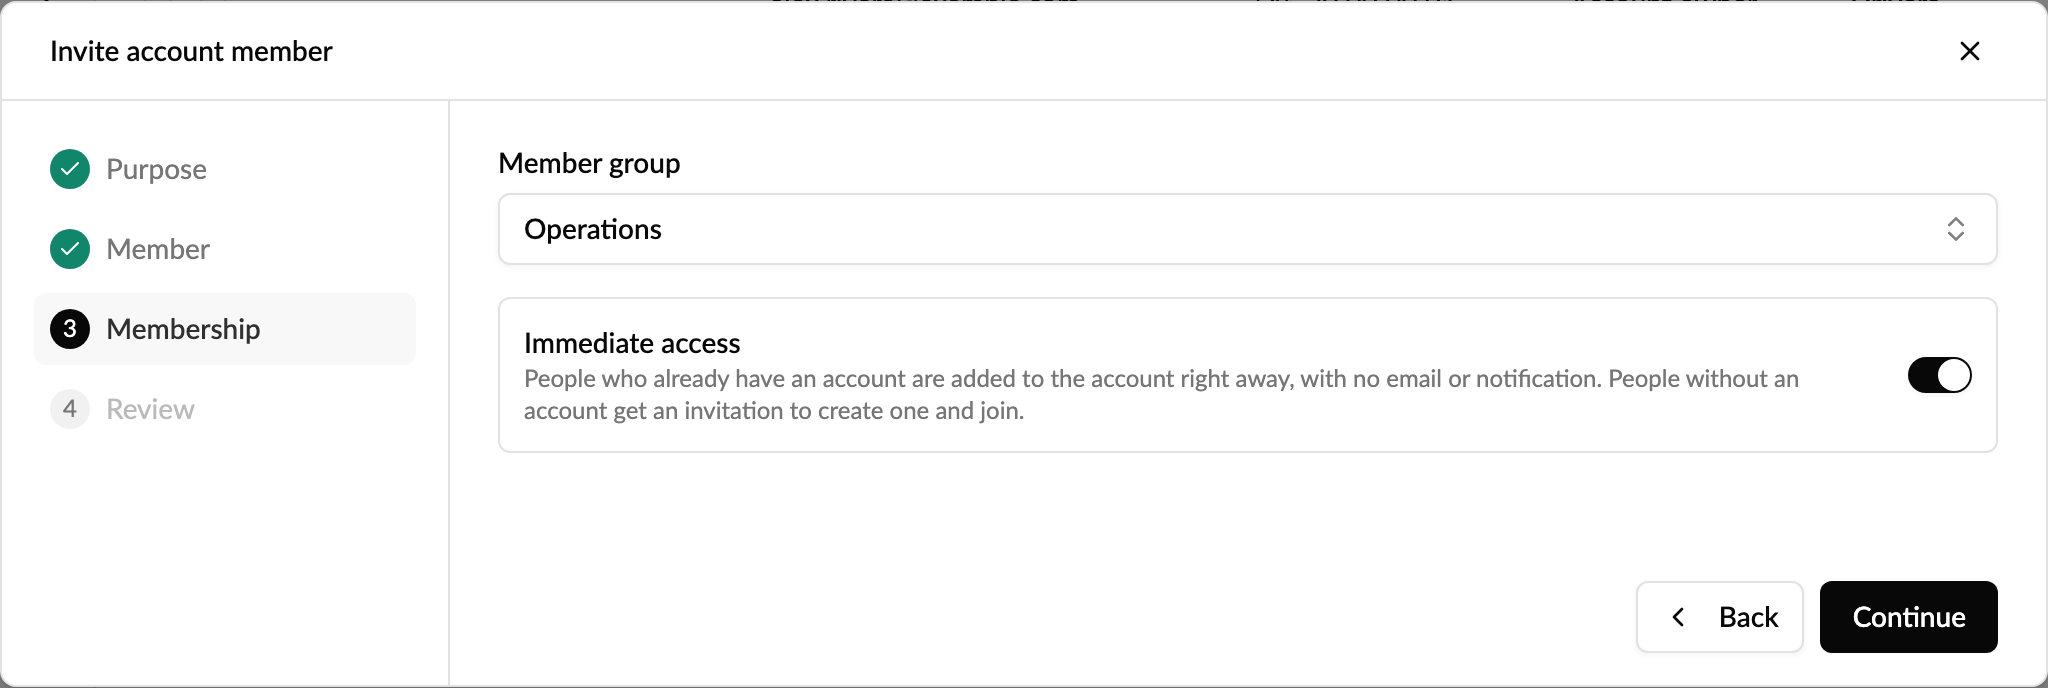
Membership: select a Member group, or leave No member group and select the Role (Member or Admin) and the price group they pay when using the account's charge points. A member group sets the role, price group and permissions for you.
-
Turn on Immediate access if you want to skip the invitation (see below).
-
Review: check the details and click Send invitation.
Immediate access
With Immediate access on, people who already have a Monta account are added to the account right away, with no email or notification, and get the member group's settings straight away. People without a Monta account still get an invitation to create one and join. You can use it with or without a member group.
Only use Immediate access for people who expect to join, for example your own employees. If you don't see the option, it isn't available for your operator.
Bulk invite users to an Account
You can invite many people at once and set their role, member group and name in the same step.
-
Open the Account and go to the Members & access tab.
-
Open the arrow next to Invite member and select Invite many at once.
-
Add the people: Upload CSV, Paste data, or Add row by hand. Download the Template to see the columns: Email, Role, Member group, First name and Last name. Only the email (or phone number) is required.
-
Fix any rows marked with an error, then click Import.
Give a member a name
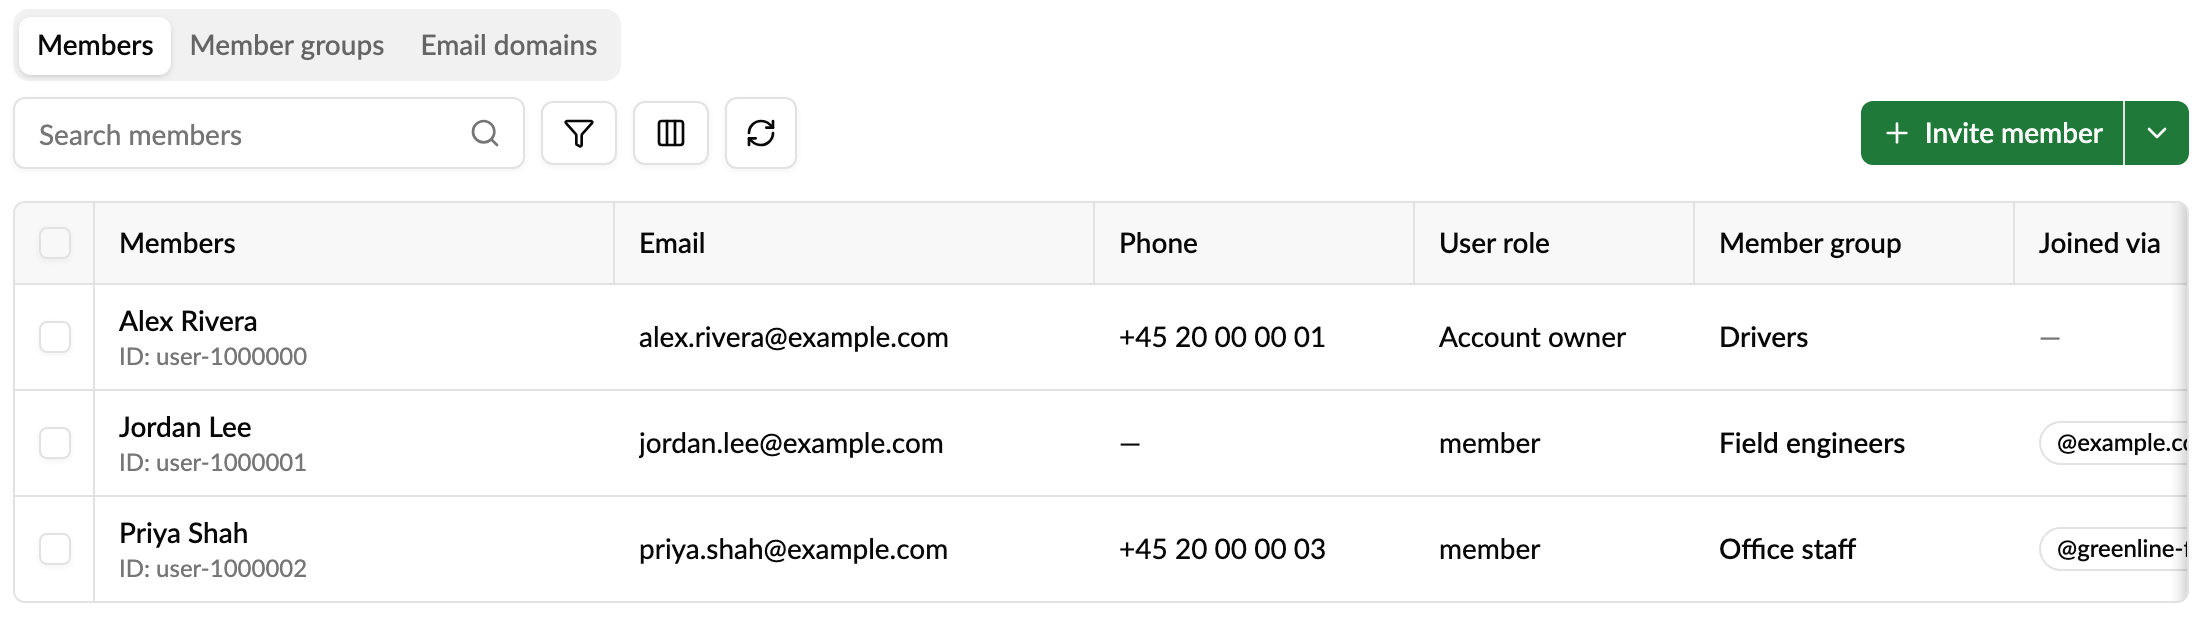
Members who never filled in their Monta profile show up as User #12345 in lists, exports and reports. You can give them a first and last name on this account, so finance and fleet reports show who is who.
-
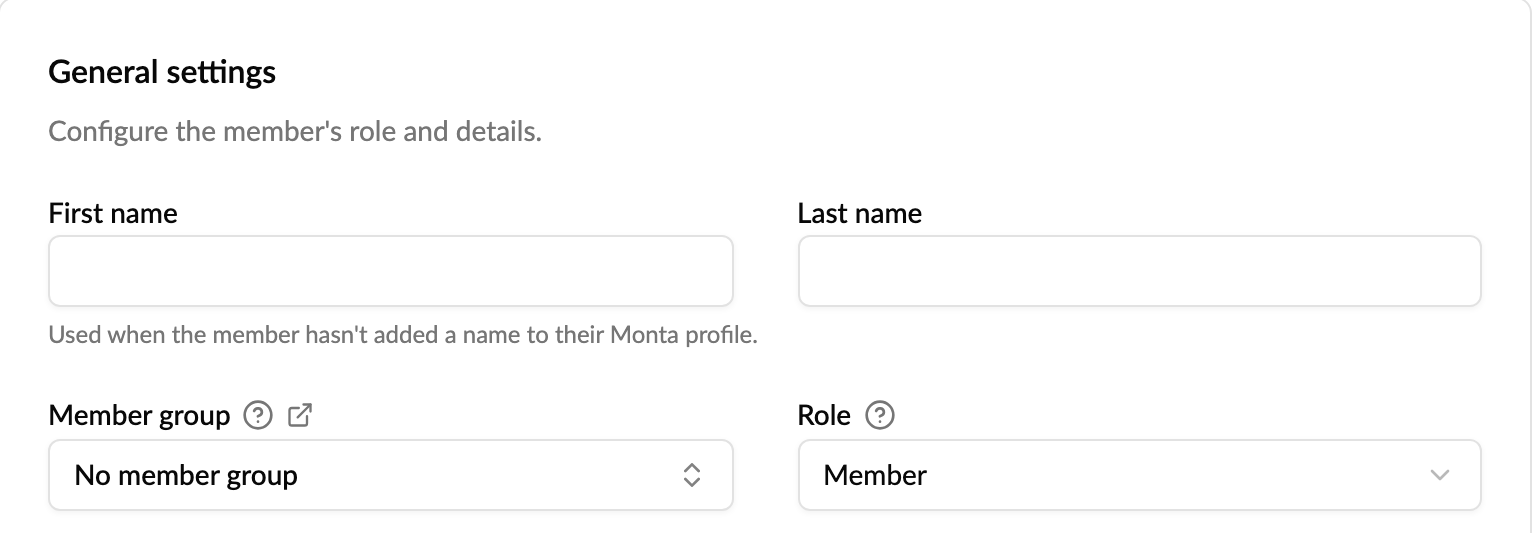
One member: open the member, go to Settings and fill in First name and Last name under General settings.
-
Many members: in the Members list, select the members and click Edit names. Fill in the names and click Save names. Members who haven't accepted their invitation yet can't be renamed here; the name you entered on their invitation is used when they join.
-
When you invite: fill in the name in the invite or in the bulk invite.

Good to know:
-
The name belongs to the membership of this account. It doesn't change the person's Monta profile or their other accounts.
-
If the person has a name on their Monta profile, that name is always shown instead.
-
The name shows in the members list, in data exports (Member Name, User Name) and on the Fleet cost overview. Public share links of dashboards keep showing User # numbers.
-
To clear a name, empty the fields on the member's Settings page. Bulk edit only changes names you fill in.
Accept an invitation to join an Account
To accept the invitation, the newly invited person should follow these steps:
-
Click on the Accounts tab.
-
Select View account invitations.
-
Choose to Join the account.
Share an Account join code with users
You can share the Account code with users who already have a Monta account. They can use the code in Monta Charge to join the Account. You can set the Account to automatically accept anyone who uses an Account code, or manually accept join requests.
-
Open the Account and go to the Members & Access tab.
-
Open the arrow next to Invite member and select Invite with account code.
-
Copy the code and share it with the users.
Manage join requests
To accept a join request from a user:
-
Open the Account and go to the Members & Access tab.
-
Find the member with the Requested status.
-
Click on the three dots and select Respond to Join Request.
-
Click on Accept join request.
Create a Member Price Group
A Member Price Group sets the price that Account Members pay when charging on the Account's charge points. You can create multiple Member price groups and apply them to different account members.
-
Open the Account and go to the Price groups tab.
-
Click on Add new and select Member price group.
-
Fill in the price group details: name, price amount, price type, and tariff.
-
Click Save.
Apply a Member Price Group
You can set a member price group as a default so it is always suggested for new account members, or assign different price groups to individual members.
-
Open the Account and go to the Price groups tab.
-
Click on Member price groups.
-
From the action button, set the price group as default or apply it to account members.
-
Select the account members who need this price group and click Save.
Apply a member fee
Member fees allow the account to collect a monthly fee from account members' personal wallets, for example to cover the costs of a service subscription.
-
Open the Account and go to the Members & Access tab.
-
Select one or more members.
-
Click on Apply member fee.
-
Select whether you want to create a new member fee or apply an existing one.
-
Select the fee and click Save.
Create a member group
Member groups allow account admins to apply a set of settings to multiple account members at once, including permissions, pricing, and wallet access.
Important: When a member group is applied to an account owner, the account owner's rights and permissions are overridden.
-
Open the Account and go to the Members & Access tab.
-
Open the Member groups tab and click New.
-
Enter a name and a description for the group.
-
Fill in the permission settings (see the table below).
-
Review the member group's permissions and click Save changes.
-
Click on Add members to apply the member group to account members.
| Field | What does this field do? | Comment |
|---|---|---|
| Member group name | Enter a distinct name | |
| Description | A description to help you recognize the member group | |
| User role | Select whether the member should have admin rights | |
| Member price group | Select the price the member pays when charging at the account's charge points | This is not the same as the reimbursement price group. |
| Member fee | Specify whether you want the member to pay a monthly fee to be part of this account | |
| Pay for charging with account wallet | Specify whether the account member can use their wallet balance to pay for charging | When this is disabled, the account member pays with their personal wallet. You can limit the countries in which they can pay for charging. |
| Pay in shop | Allows the member to use the account wallet to pay for charge keys, stickers and other items | |
| Deposit to account wallet | Allows the member to add funds to the account wallet | Recommended only for admins who manage the account's finances. If deposit is disabled in the operator's account settings for this account type, enabling this toggle has no effect. |
| Withdraw from account wallet | Allows the member to withdraw funds from the account wallet | Recommended only for admins who manage the account's finances. If withdraw is disabled in the operator's account settings for this account type, enabling this toggle has no effect. |
| Manage charge keys | Allows the member to add, edit, and remove charge keys and autocharge vehicles | Only applies to members with the Admin role. Every admin has this permission by default. If charge key management is disabled in the operator's account settings for this account type, enabling this toggle has no effect. |
| Manage account members | Allows the member to invite and manage other account members | |
| Can configure charge points | Enable the Member to update the OCPP configurations of the Account charge points | |
| Request reimbursed EVSE | Enable the Member to request a reimbursed EVSE, paid from your Account Wallet |
Deposit and withdraw are separate permissions from Manage charge keys, so you can let an admin manage charge keys without letting them deposit to or withdraw from the account wallet.
Apply wallet restrictions to a member group
You can set wallet restrictions for a member group so that all members in the group follow the same allowed countries and operators.
-
Open your account and go to Members & Access > Member Groups.
-
Open a group and scroll to Member wallet permissions and payment restrictions.
-
Define whether members can pay with the Account Wallet, and which countries and operators they can use.
-
Click Save changes.
If the account has existing operator- or account-level restrictions, those will appear as defaults and can be further limited here.
Allocate charge point access to Account Members
You can restrict the charge point access of Account Members, allowing them to charge only on specific charge points. This applies to both current members and newly invited members still in the Invited state.
-
Open the Account and go to the Members tab.
-
Select the account member.
-
Use the search to find a specific charge point if needed.
-
From the action button, select Grant access.
Invite everyone with your company email domain
To invite everyone at your organisation who uses Monta, add and verify your email domain on the Email domains tab. See How do I invite colleagues to an account by email domain?
Remove an Account Member
Only Account Owners and Admins with the right to manage Account Members can remove a user from the Account. Once removed, the member will no longer have access to the Account's charge points or Wallet. If the Account Member is reimbursed, this will stop the reimbursement and the member will not be able to request again.
-
Open the Account and go to the Members & Access tab.
-
Click on the Members tab and select the action button of the member you want to remove.
-
Select Remove Account member.
-
Confirm with Yes, remove.