
Save and share list set-ups as views in Hub
Save the filters, sort and columns of a Hub list as a named view, and share it with everyone in your operator, so you do not rebuild the same list set-up each day.
Updated 2 November 2026
This article is for operators who use lists in Monta Hub every day. You will save a list set-up as a view, switch between views, and share a view with your team.
A view keeps the filters, search, sort order, rows per page, visible columns, column order and column widths of one list. Each list has its own views. A view saved on Charging sessions does not appear on Accounts.
Where you can use views
The Views button is in the toolbar of these lists:
- Locations, Charging sessions, Alerts, Alert monitoring (alerts and issues) and Installer jobs
- EVSE (on Network), Firmware updates, Energy sites, Home and Lists
- Change requests, Charge ratings, Deep links and Audit log
- Accounts, Users, Charge keys, Subscriptions, Plans, Price groups and Spending limits
- Reimbursements, Vehicles, Payment terminals, Invoices and Shop orders
- Public network (EVSEs and locations) and Bilateral agreements
The button is not on tables inside an account or a person's page, such as the sites or members of one account. It is also not yet on roaming parties, roaming connections or CDRs (charge detail records).
Save a view
Before you start, set up the list the way you want it: apply filters, search, sort, and show or hide columns.
-
Open the list, for example Charging sessions.
-
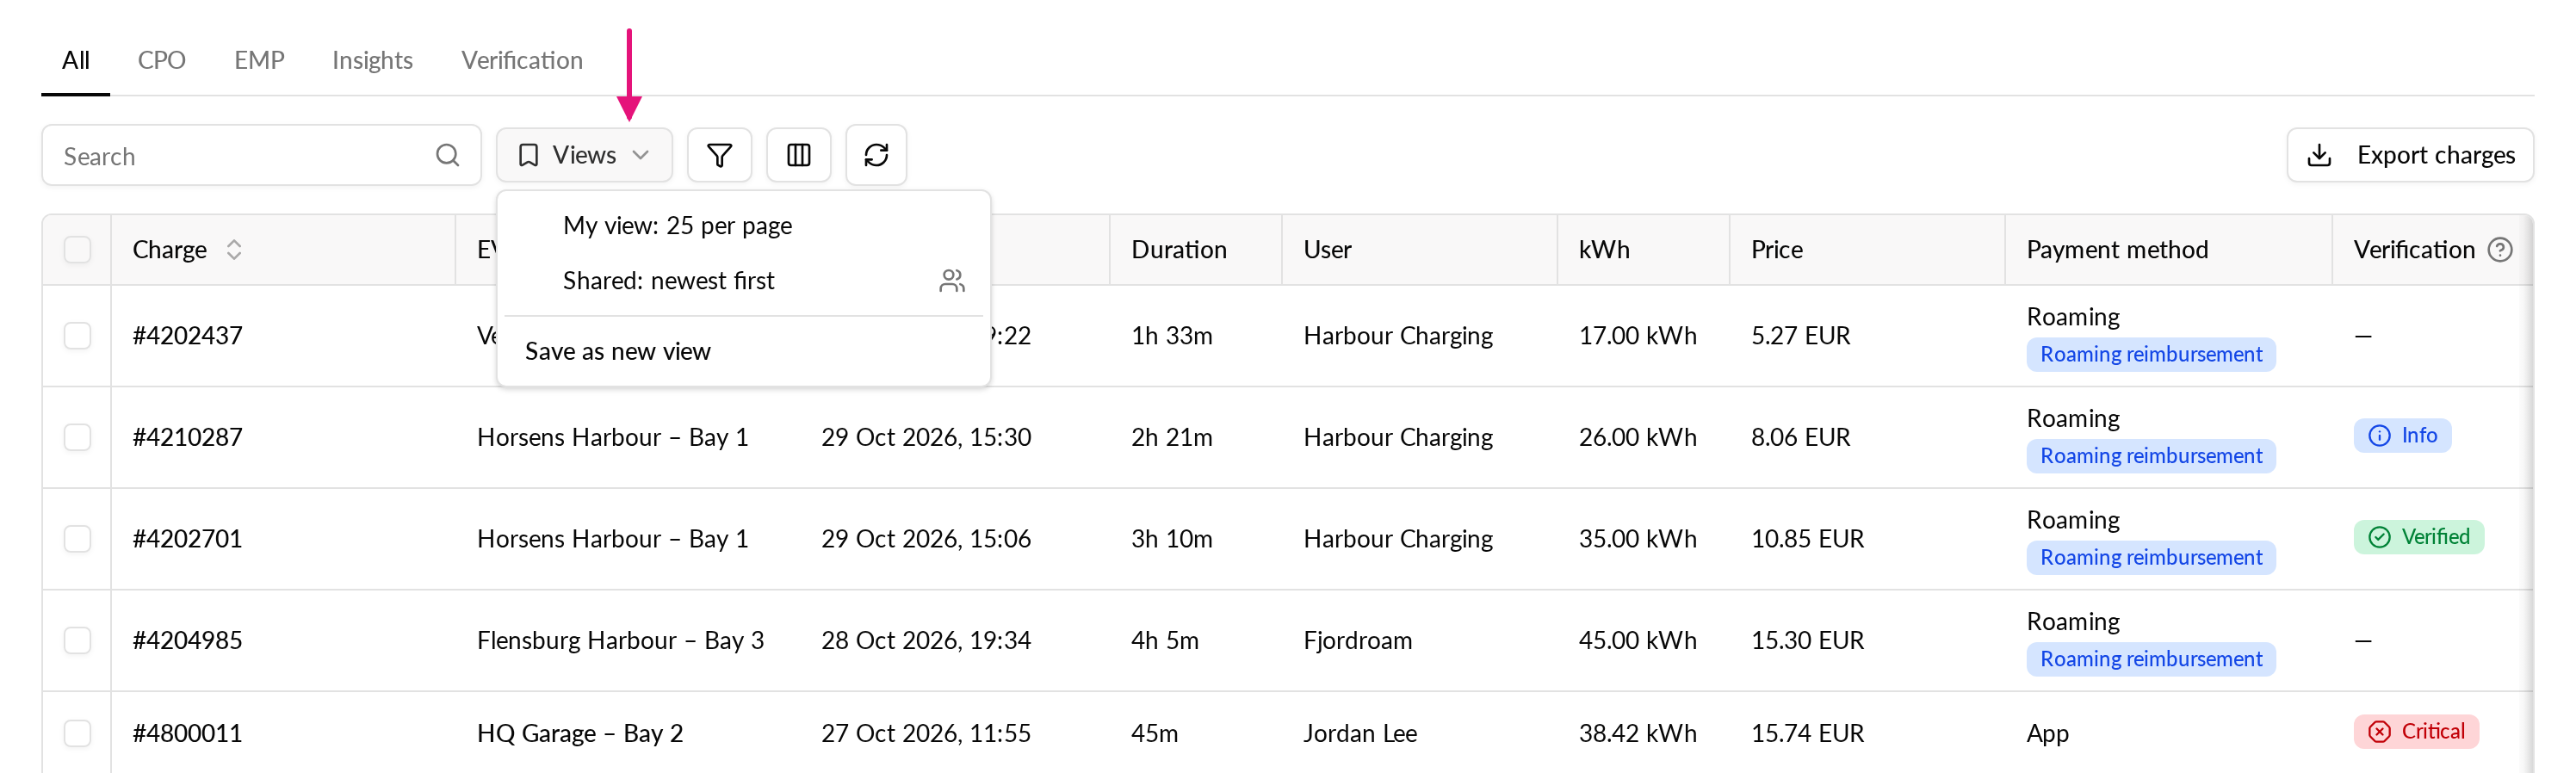
Select Views in the toolbar.
-
Select Save view.
-
Enter a Name.
-
To let your team use the view, select Share with everyone in this operator. Leave it cleared to keep the view private.
-
Select Save.
The button now shows the name of your view instead of Views.
Switch to a view
- Select the Views button.
- Select a view from the list.
The list changes to the saved filters, sort and columns. Your private views and the views shared in your operator are in the same list. A shared view shows a people icon.
To go back to the plain list, select Views, then Clear this view.
Change a view
When you change a list that has a view selected, a dot appears on the button. The dot means the list no longer matches the saved view. A change to column widths alone does not add the dot.
Select the button, then choose one of these:
- Save changes overwrites the view with what you see. You can use it only on a view you may edit.
- Revert changes puts back the saved filters, search and columns.
- Save as new view keeps the original and saves your changes as another view.
Rename, share or delete a view
- Select the Views button while the view is chosen.
- Select Rename or share to change the Name, or to turn sharing on or off.
- Select Delete view to remove it, then confirm with Delete view.
Deleting a shared view removes it for everyone who uses it.
Who can change a view
- You can edit and delete your own views.
- Operator admins and managers can also edit and delete views that are shared in the operator.
- Everyone else can use a shared view but cannot rename, overwrite or delete it. To adjust one, use Save as new view.
- Private views are visible only to you.
Limits
- You can own up to 50 views for each list.
- A view is stored for your operator. It does not appear in another operator.
- If Views cannot load, it is hidden and the list keeps working.