Please note that when you connect your charge point to Monta, we become the operator of the charge point. This means that you need to use Monta to control the charging process.
1. Power up the charge point and connect to it
Turn on the charge point.
Using a smartphone or a computer, open the wireless settings of the device and scan for networks.
Find and select the network called HALO_******
When asked, enter the "Network key"
This can be found in the configuration manual.
2. Open a browser to 192.168.250.1
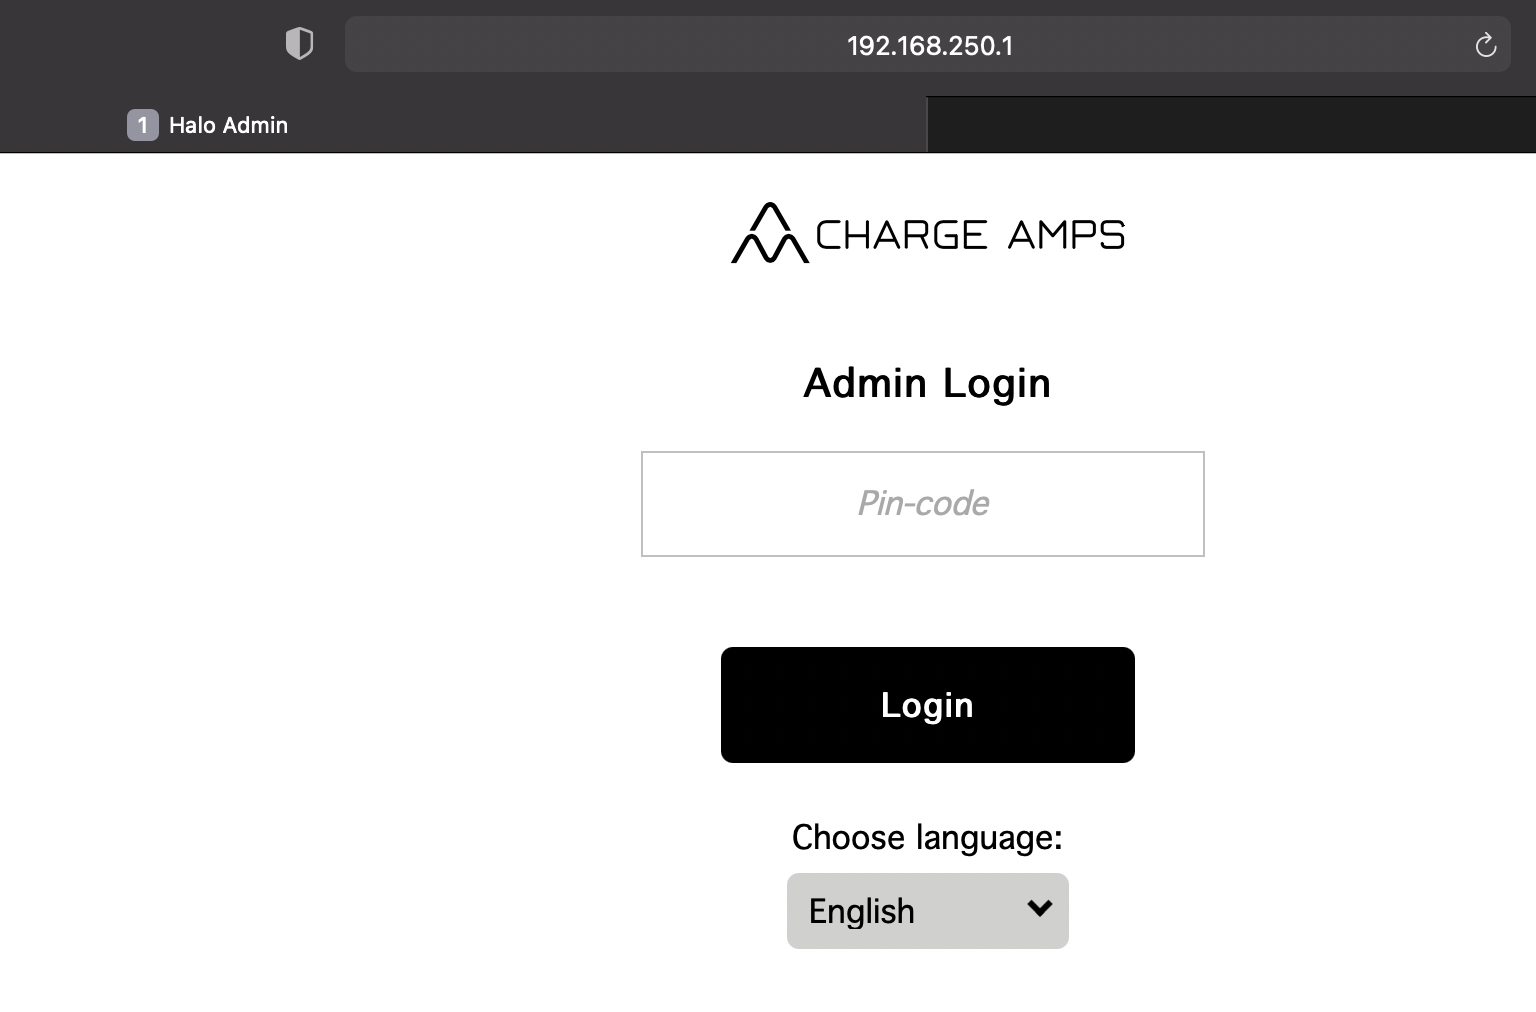
Once you are connected, open a browser window on the same device, enter 192.168.250.1 and hit "Enter".
Now the setup page should load. In the admin login page enter the pin code.
The "Pin-code" is same as the "Network key" previously used.

3. Connect the charge point to WiFi
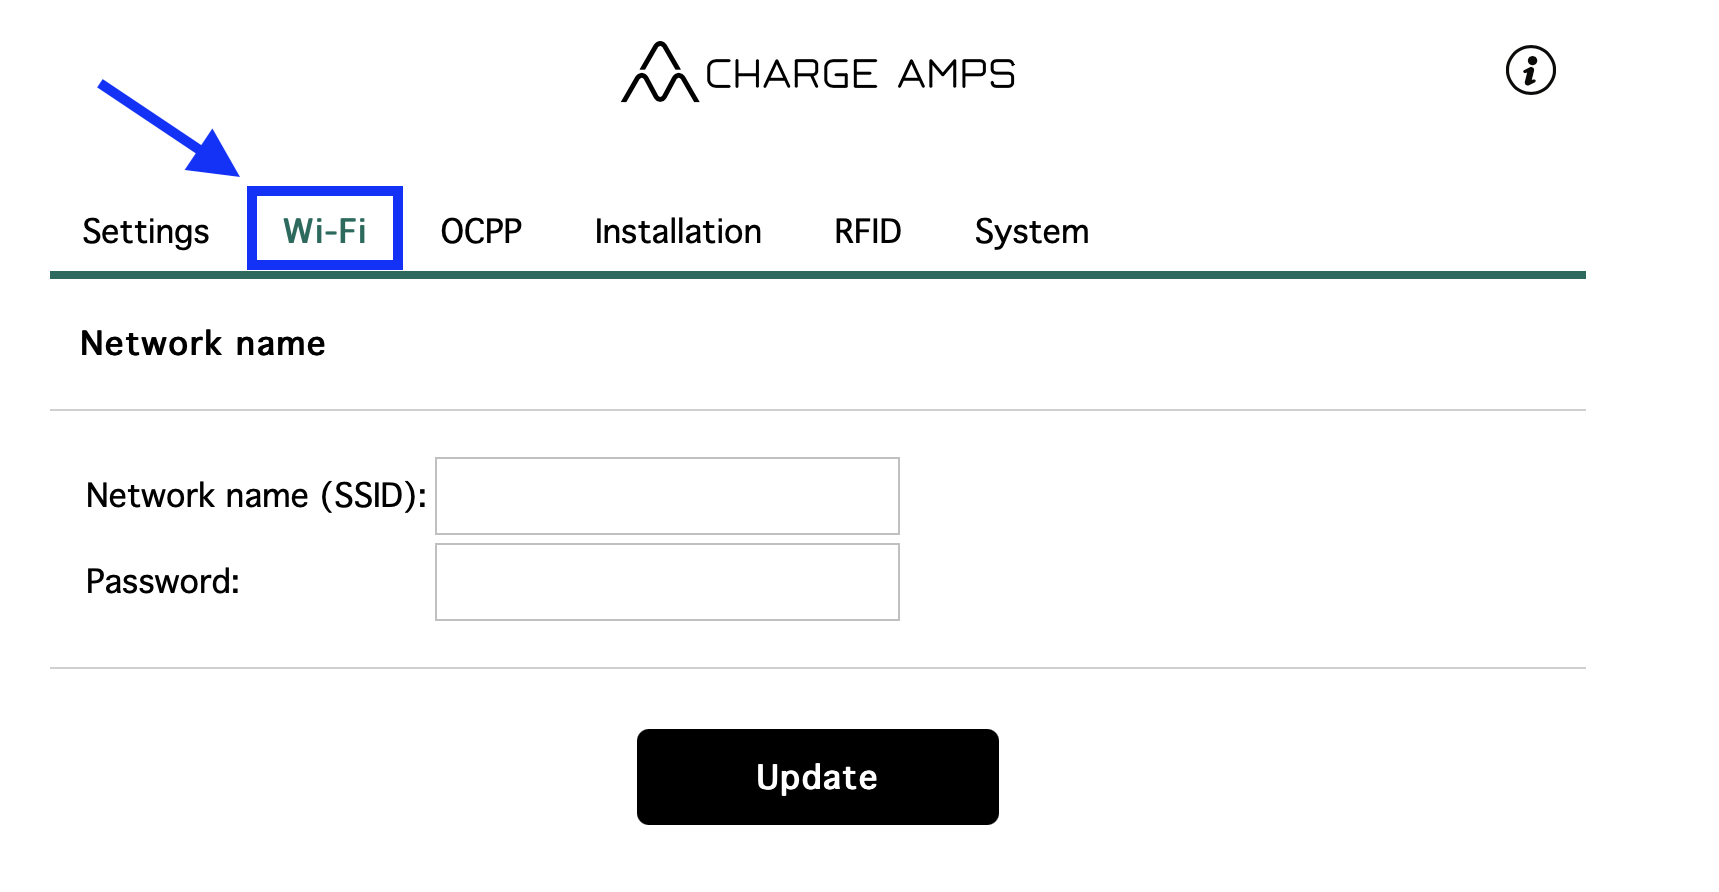
In the setup page, navigate to the "Wi-Fi" section.
Network name (SSID): *your WiFi name*
Password: *your WiFi password*
Click on "Update".

4. Open your Charge Amps space profile
Once the charge point is online, open your Charge Amps space profile on your screen.
On your device type my.charge.space and login to your account.
Here you need to add your charge point to your Charge Amps space, if you have not already done this.
5. Login to 192.168.250.1 again
Now go back to the setup page at 192.168.250.1 and login again.
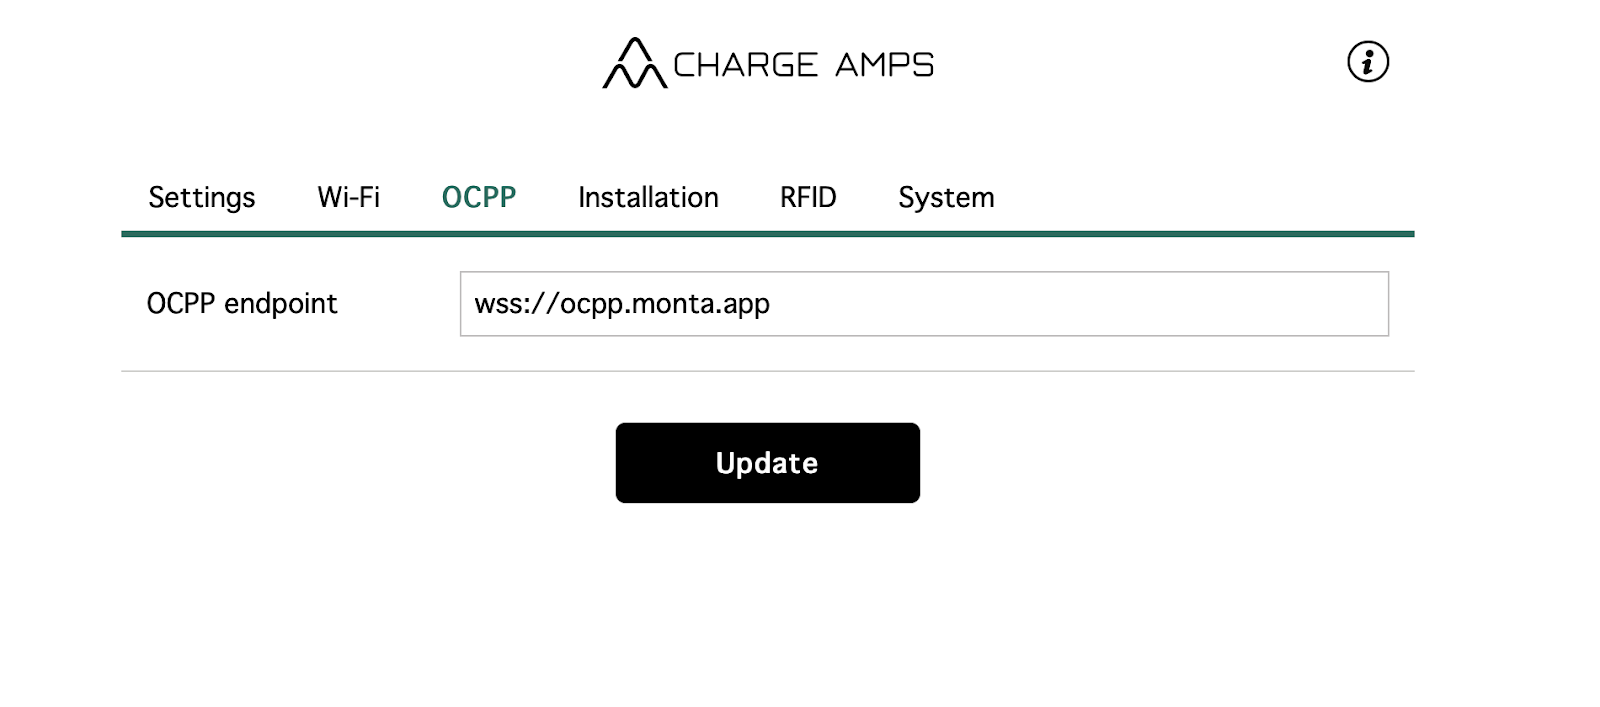
In here, go to "OCPP" settings.
Enter the OCPP endpoint: wss://ocpp.monta.app

Save the settings and reboot the charge point.
6. Connecting the charge point to your Monta account
Now you need to add and connect your charge point to your Monta account.
Please note that if your connecting your Charge Amps charge point via OCPP, you need to select the "Halo OCPP" or "Aura OCPP" option.
You can do this through either Monta Charge or Monta Hub.
