Please note that when you connect your charge point to Monta, we become the operator of the charge point. This means that you need to use Monta to control the charging process.
1. Connect your charge point to a PC or a local network
You can establish a connection with your charge point in one of two ways:
-
Connect the charge point to your PC.
-
Connect your charge point to a local network via Wifi or an Ethernet port
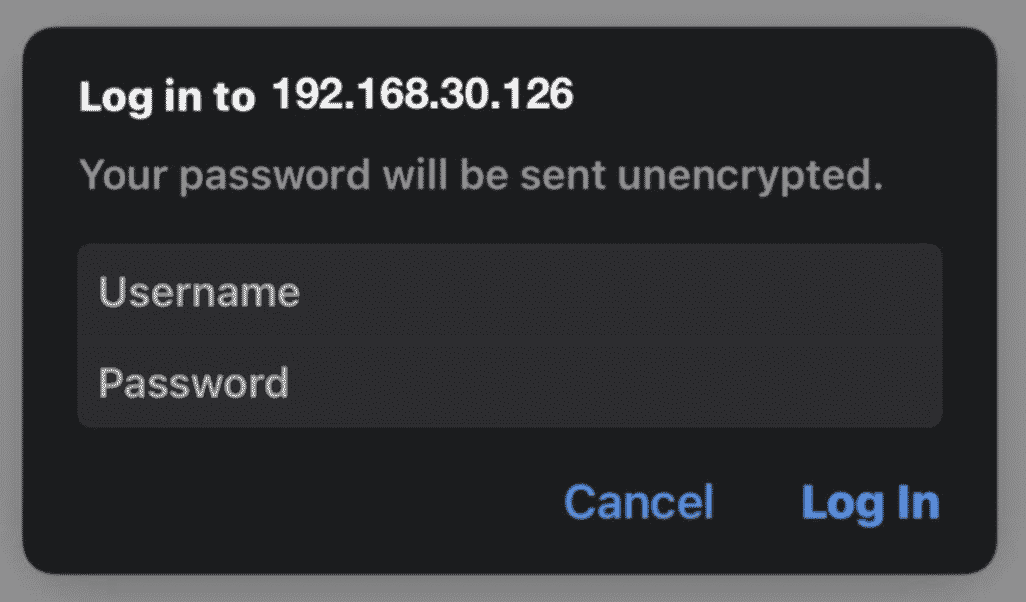
2. Open up internet browser to 192.168.30.126
3. Log into the admin panel
To log into the admin panel, please use the following credentials:
Username: admin
Password: gsroot

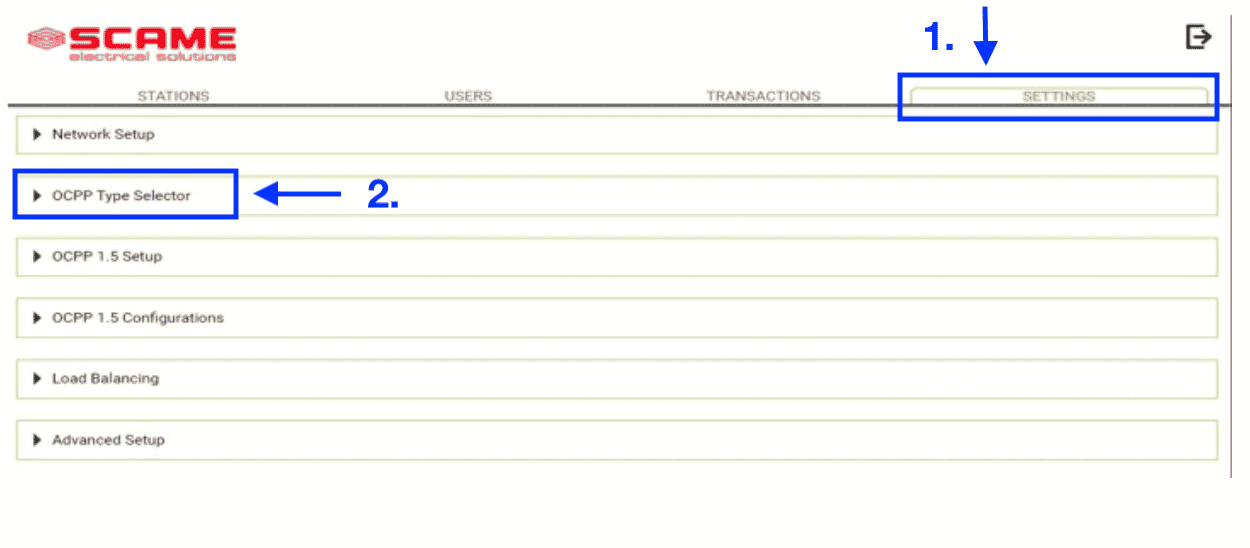
4. Select "Settings" and expand the section "OCPP Type Selector"
Open the side menu, by clicking on the top left corner button. Once you have accessed this section click on "Settings" and expand the "OCPP Type Selector".

5. Select “OCPP 1.6 JSON”
In the "OCPP Type" section, select "OCPP 1.6 JSON" and press on "Save".

6. Wait for the page to reload and expand on “OCPP 1.6 JSON" Setup
After the page has reloaded you can click on "OCPP 1.6 JSON" and fill in your charge point's details.
7. Fill in details and press "Save"
Please fill in the fields, with the following information:

Central station IP address: wss://ocpp.monta.app
Central station TCP Port: 443
Charge box identity: [Input the serial number of the charge point]
After filling our all information, press on "Save". If all the parameters have been entered correctly, the OCPP connection will now be completed successfully.
8. Connecting the charge point to your Monta account
Now you need to add and connect your charge point to your Monta account.
You can do this through either Monta Charge or Monta Hub.
