1. Notes
This guide applies to newer Rolec charge points with Rolec controller.
This guide does not apply to Rolec "GreenFlux" units.
This guide does not apply to Rolec QUBEV.
If you are unsure which version of Rolec charge point you have, please find and read the manual of your unit, or contact Rolec support.
2. Install the Rolec EV Connect app

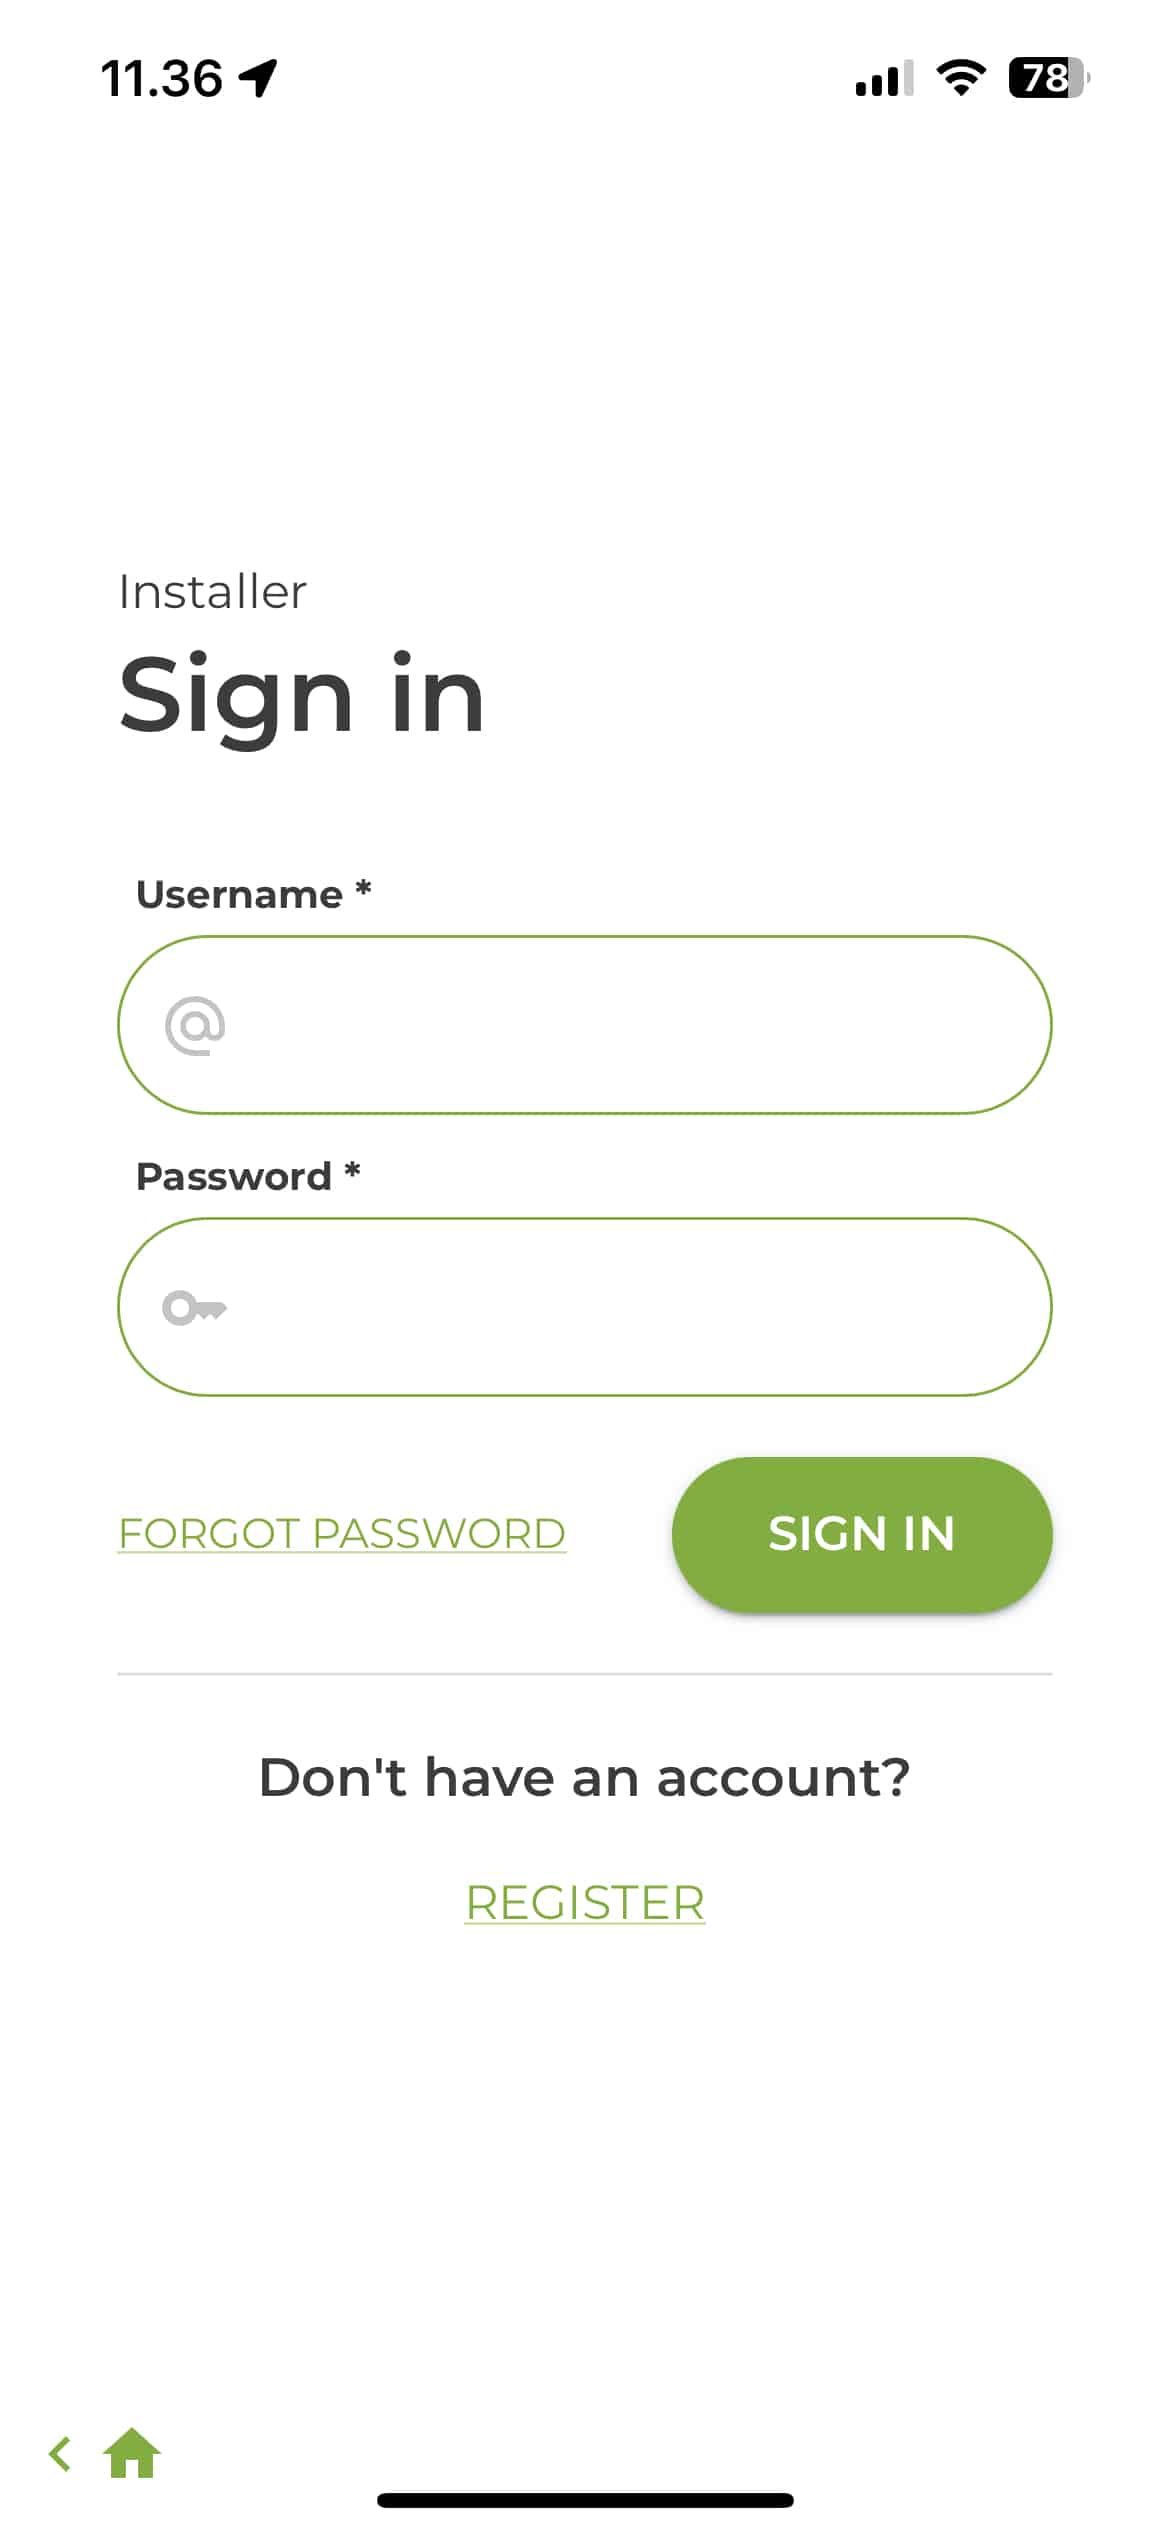
After installation, open the app, register an account and login:
3. Create an installation
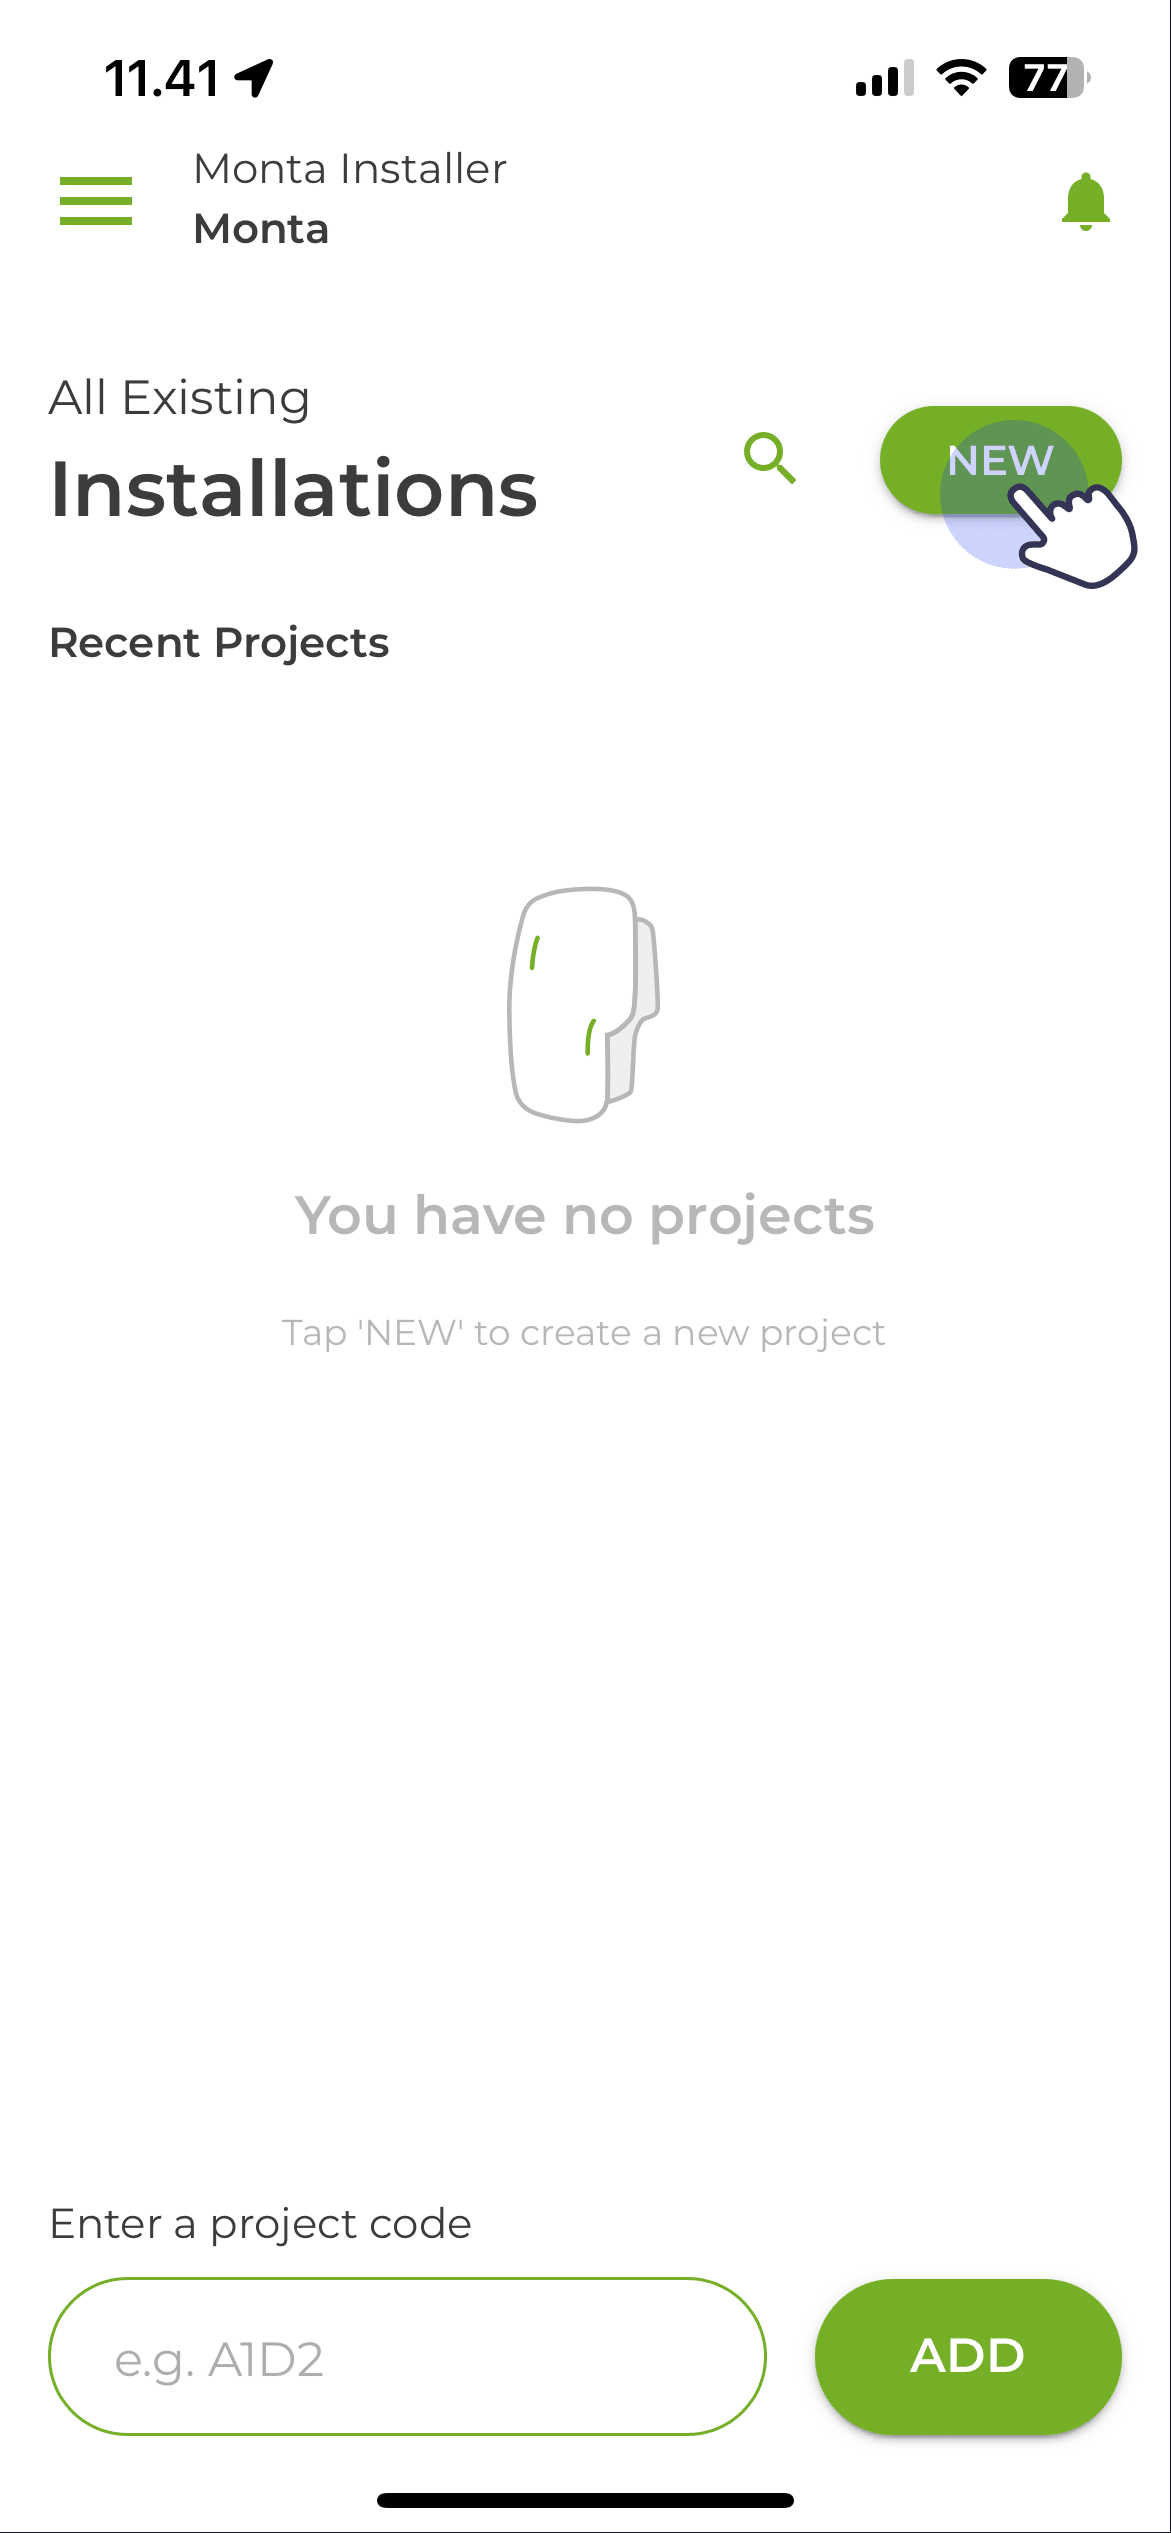
Press the "New" button in the top right corner:
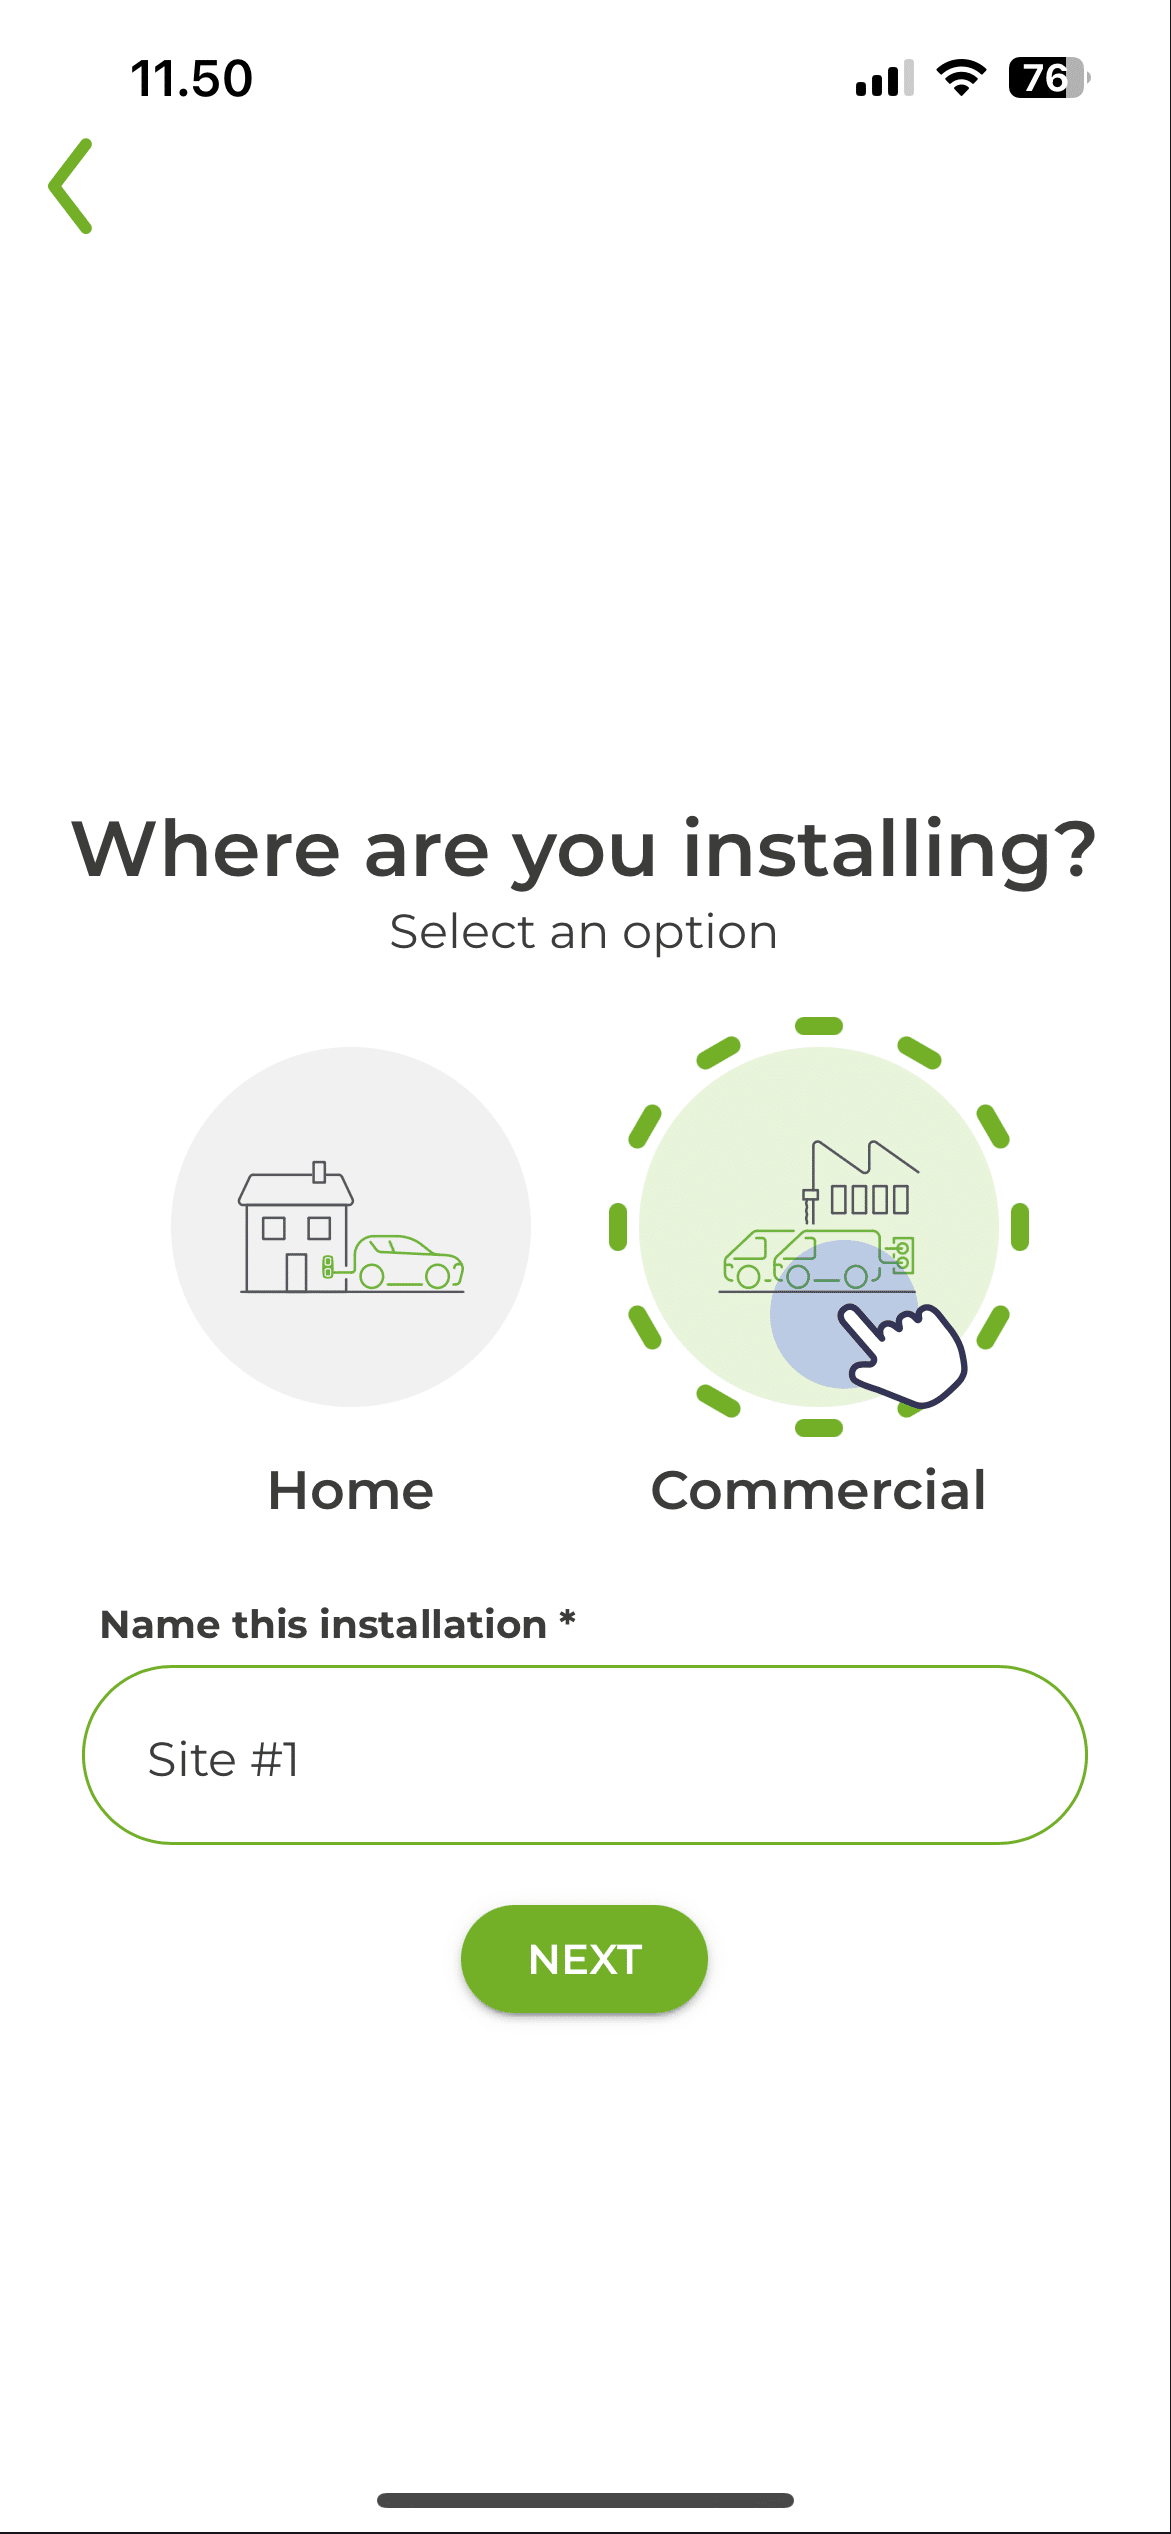
Press the "Commercial" button and add a name for the installation:
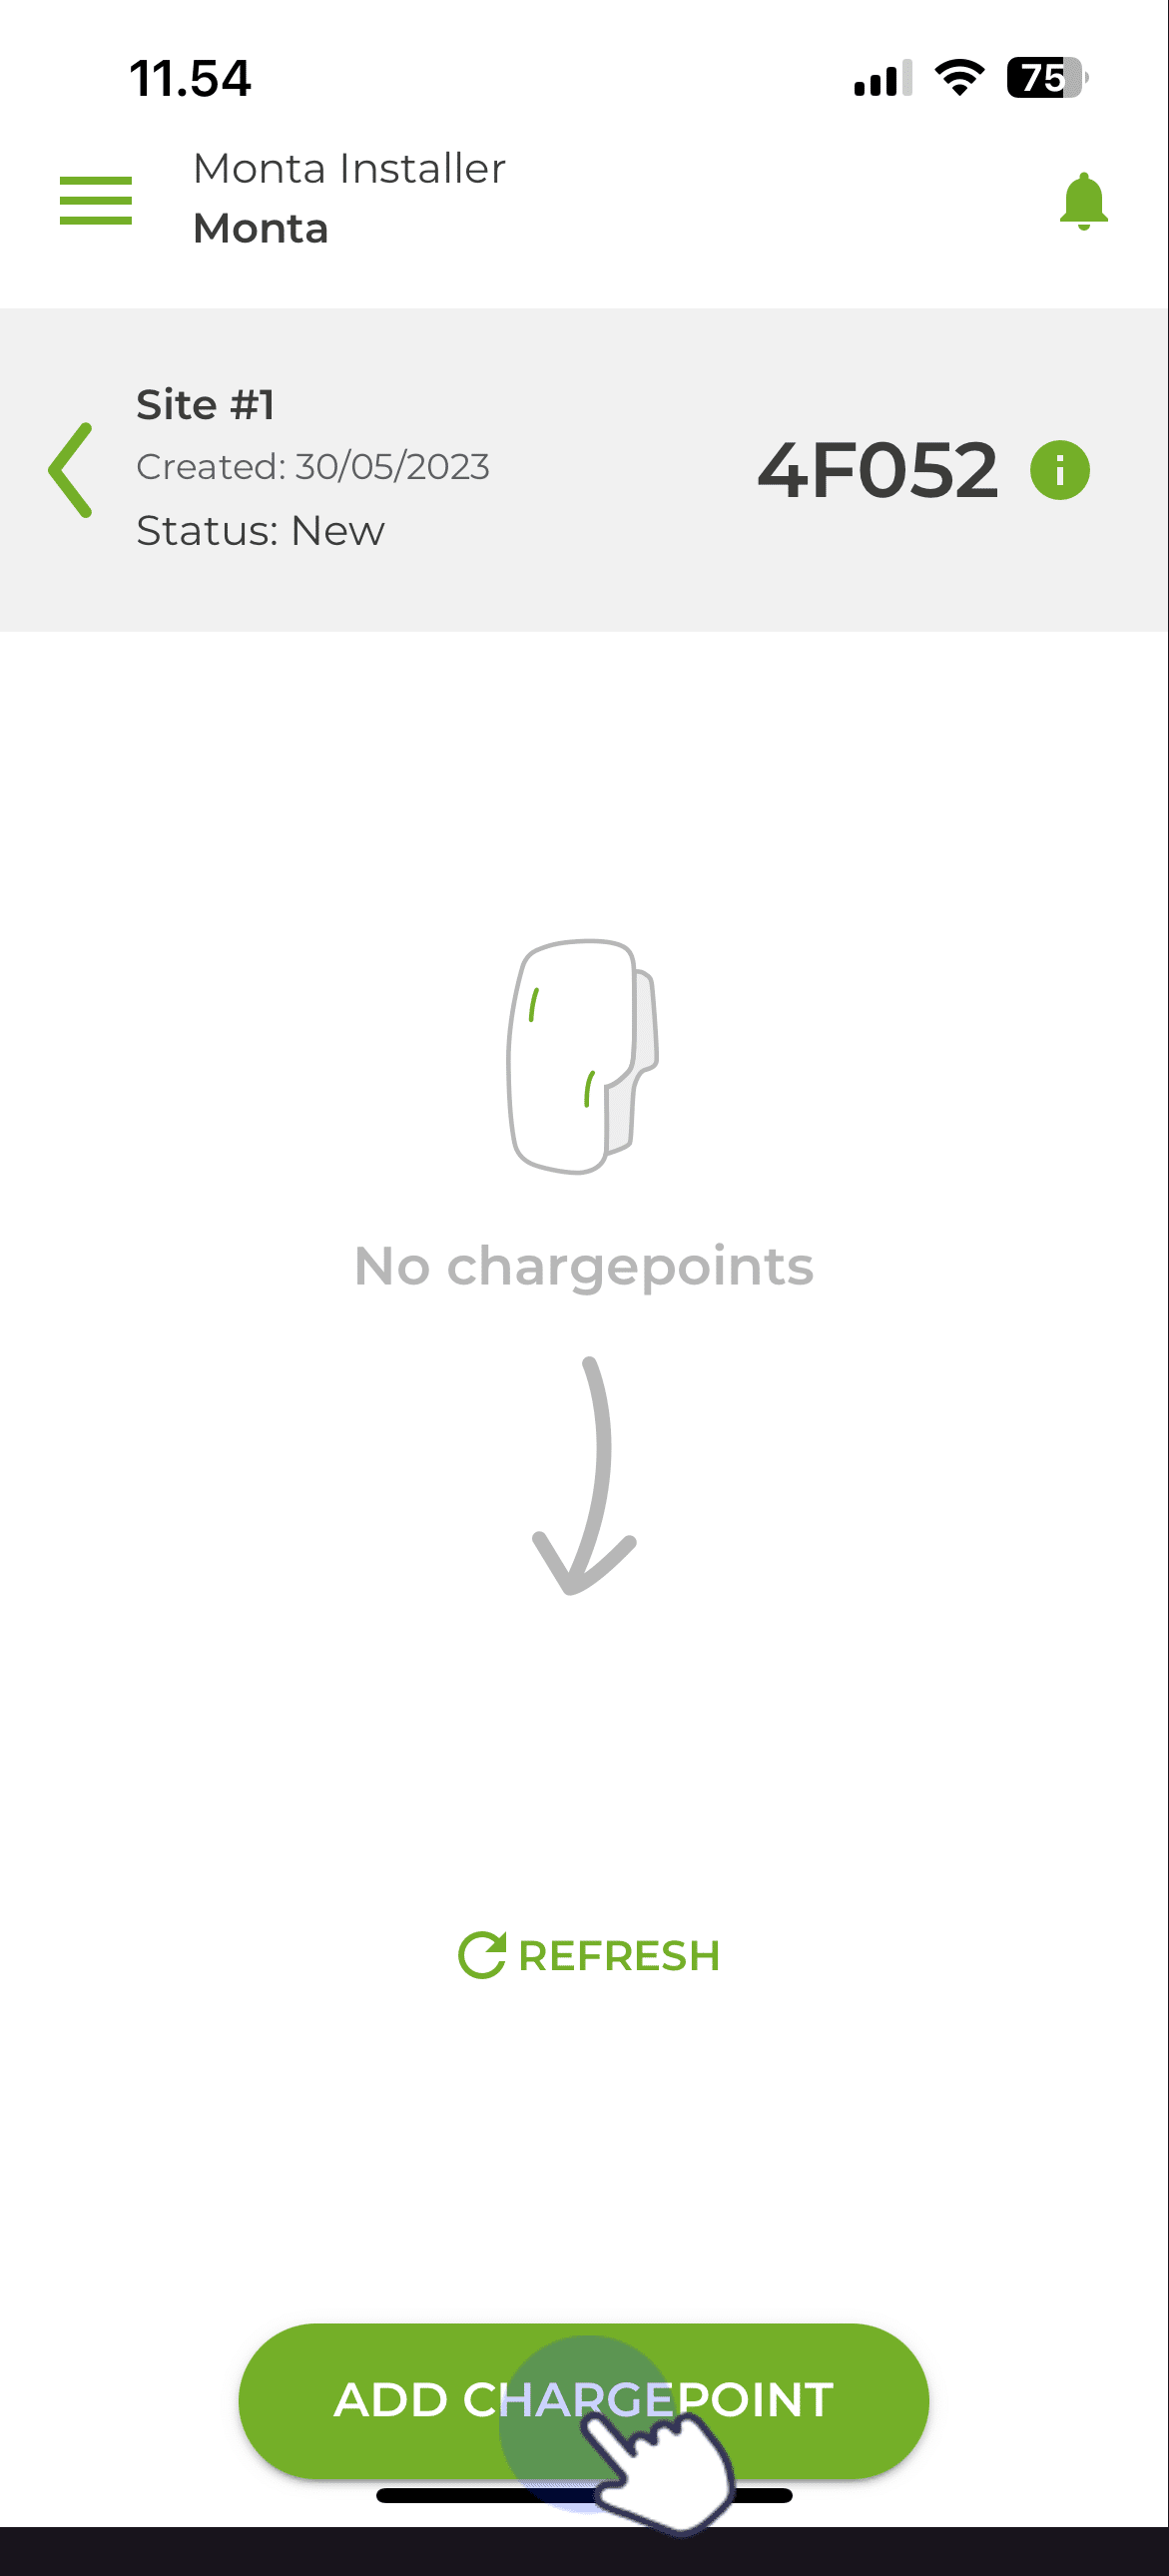
Your newly created installation will now show up on the main page.
4. Add charge point to installation
Click on the newly created installation where you want to add the charge point, then click "Add Chargepoint"
You will now be prompted to scan a QR code.
Scan the QR code on the plastic leaflet hanging from a connector, which contains the password for configuring the charge point. The password can also be entered manually.
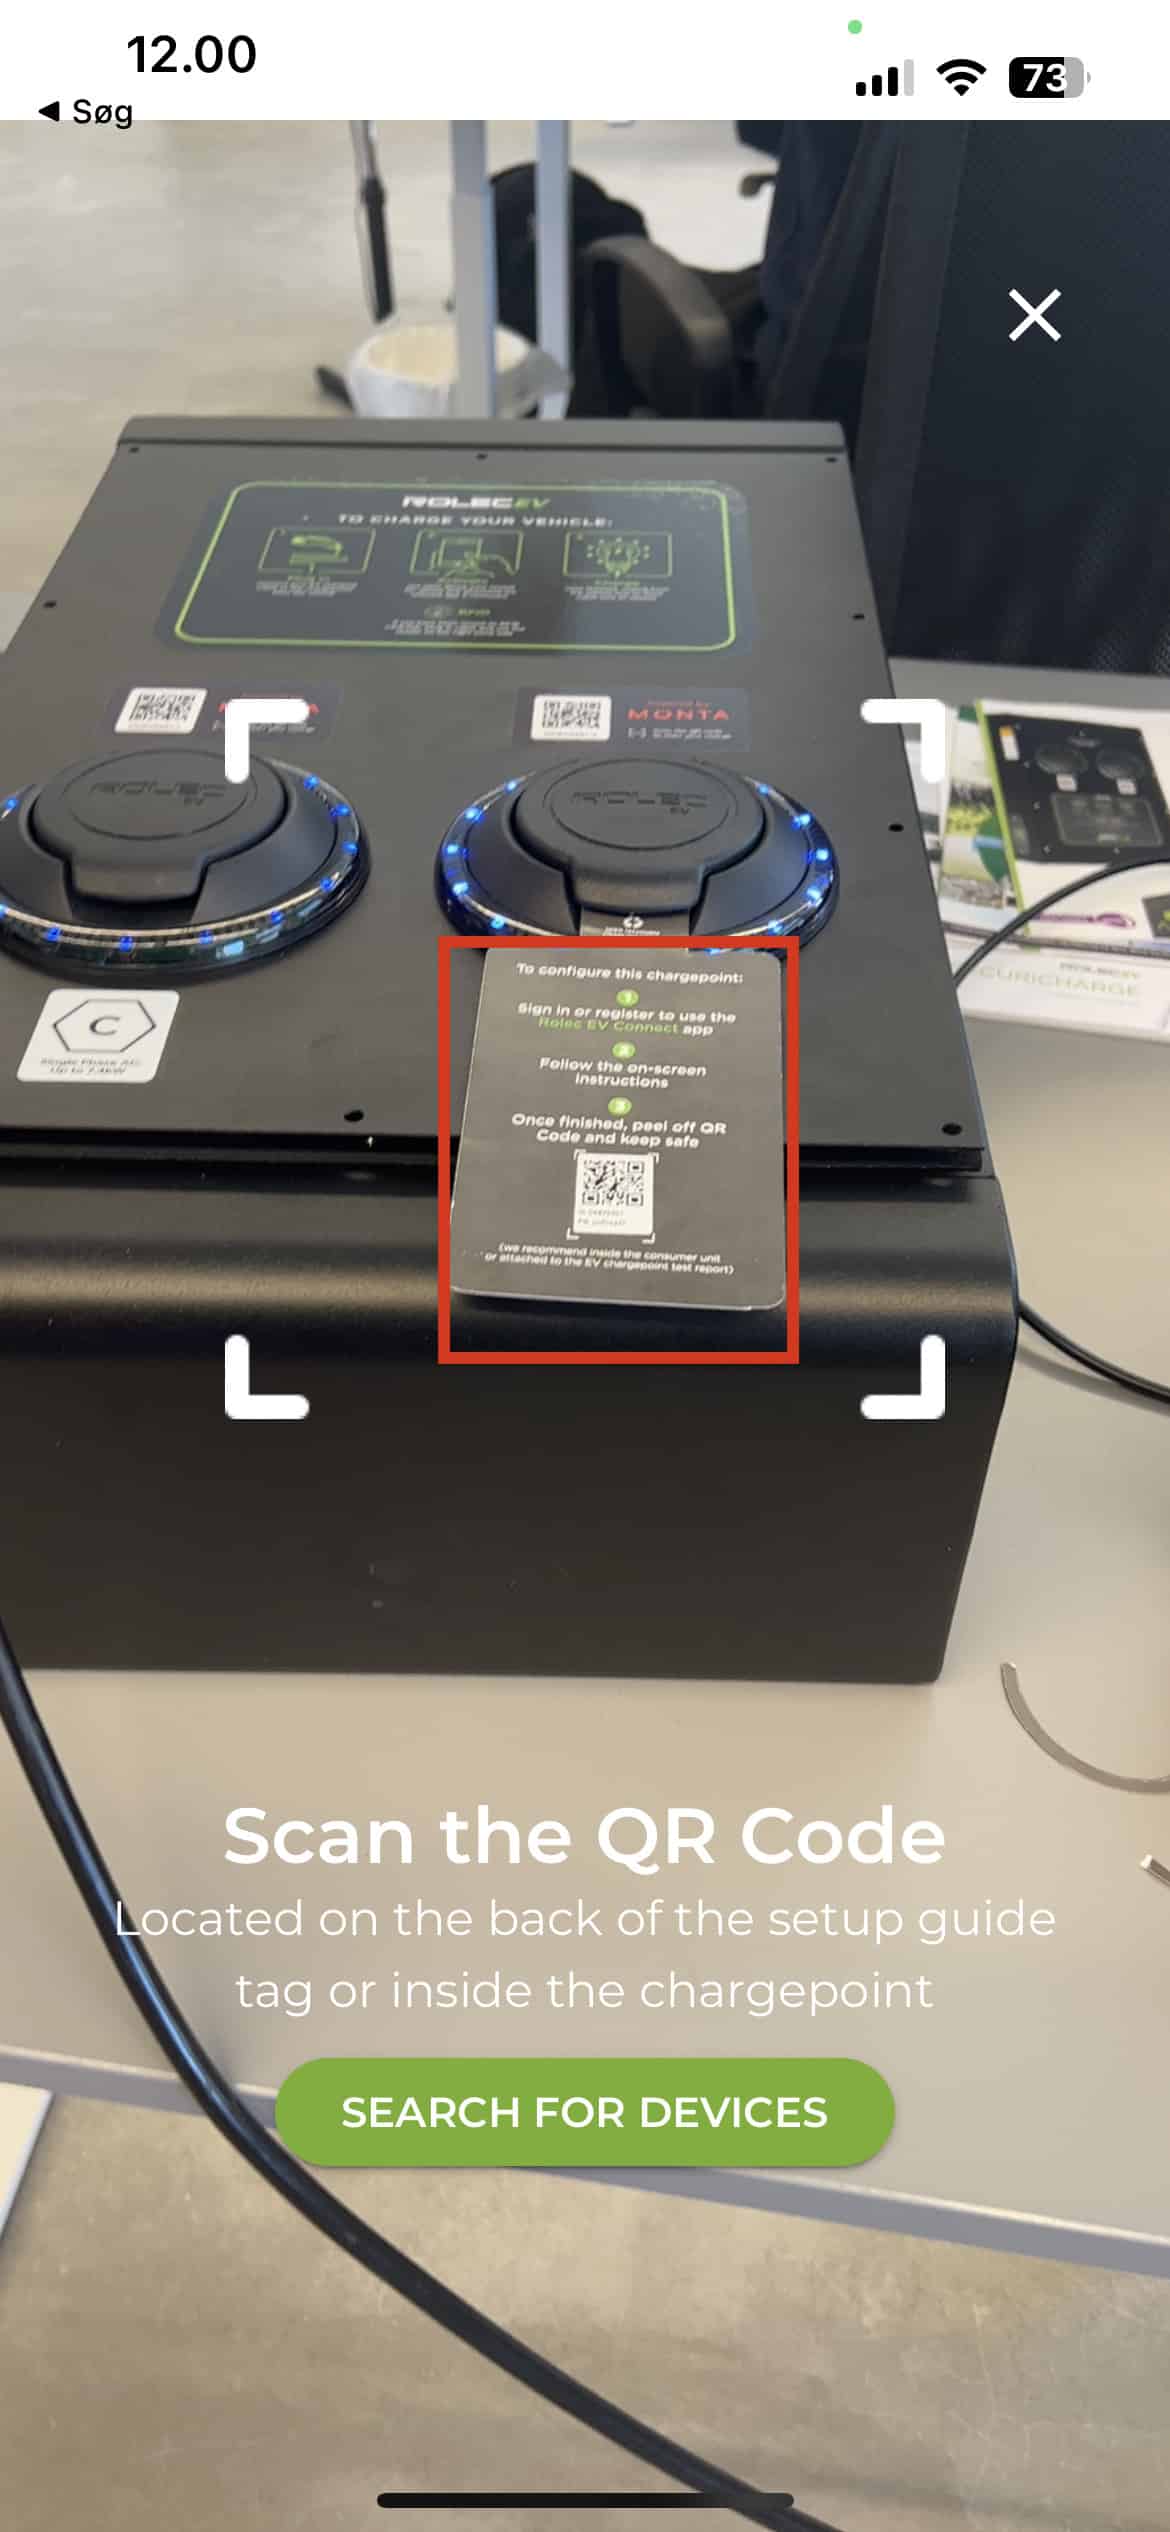
If prompted to search for Bluetooth devices, please do so (do not check "show all devices").
Now click "Connect".
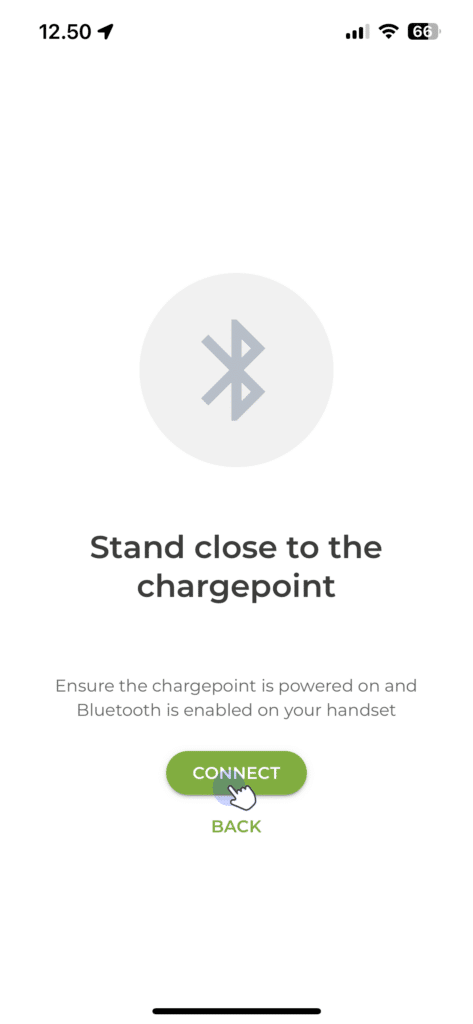
Your phone will now connect to to the charger for configuration via Bluetooth:
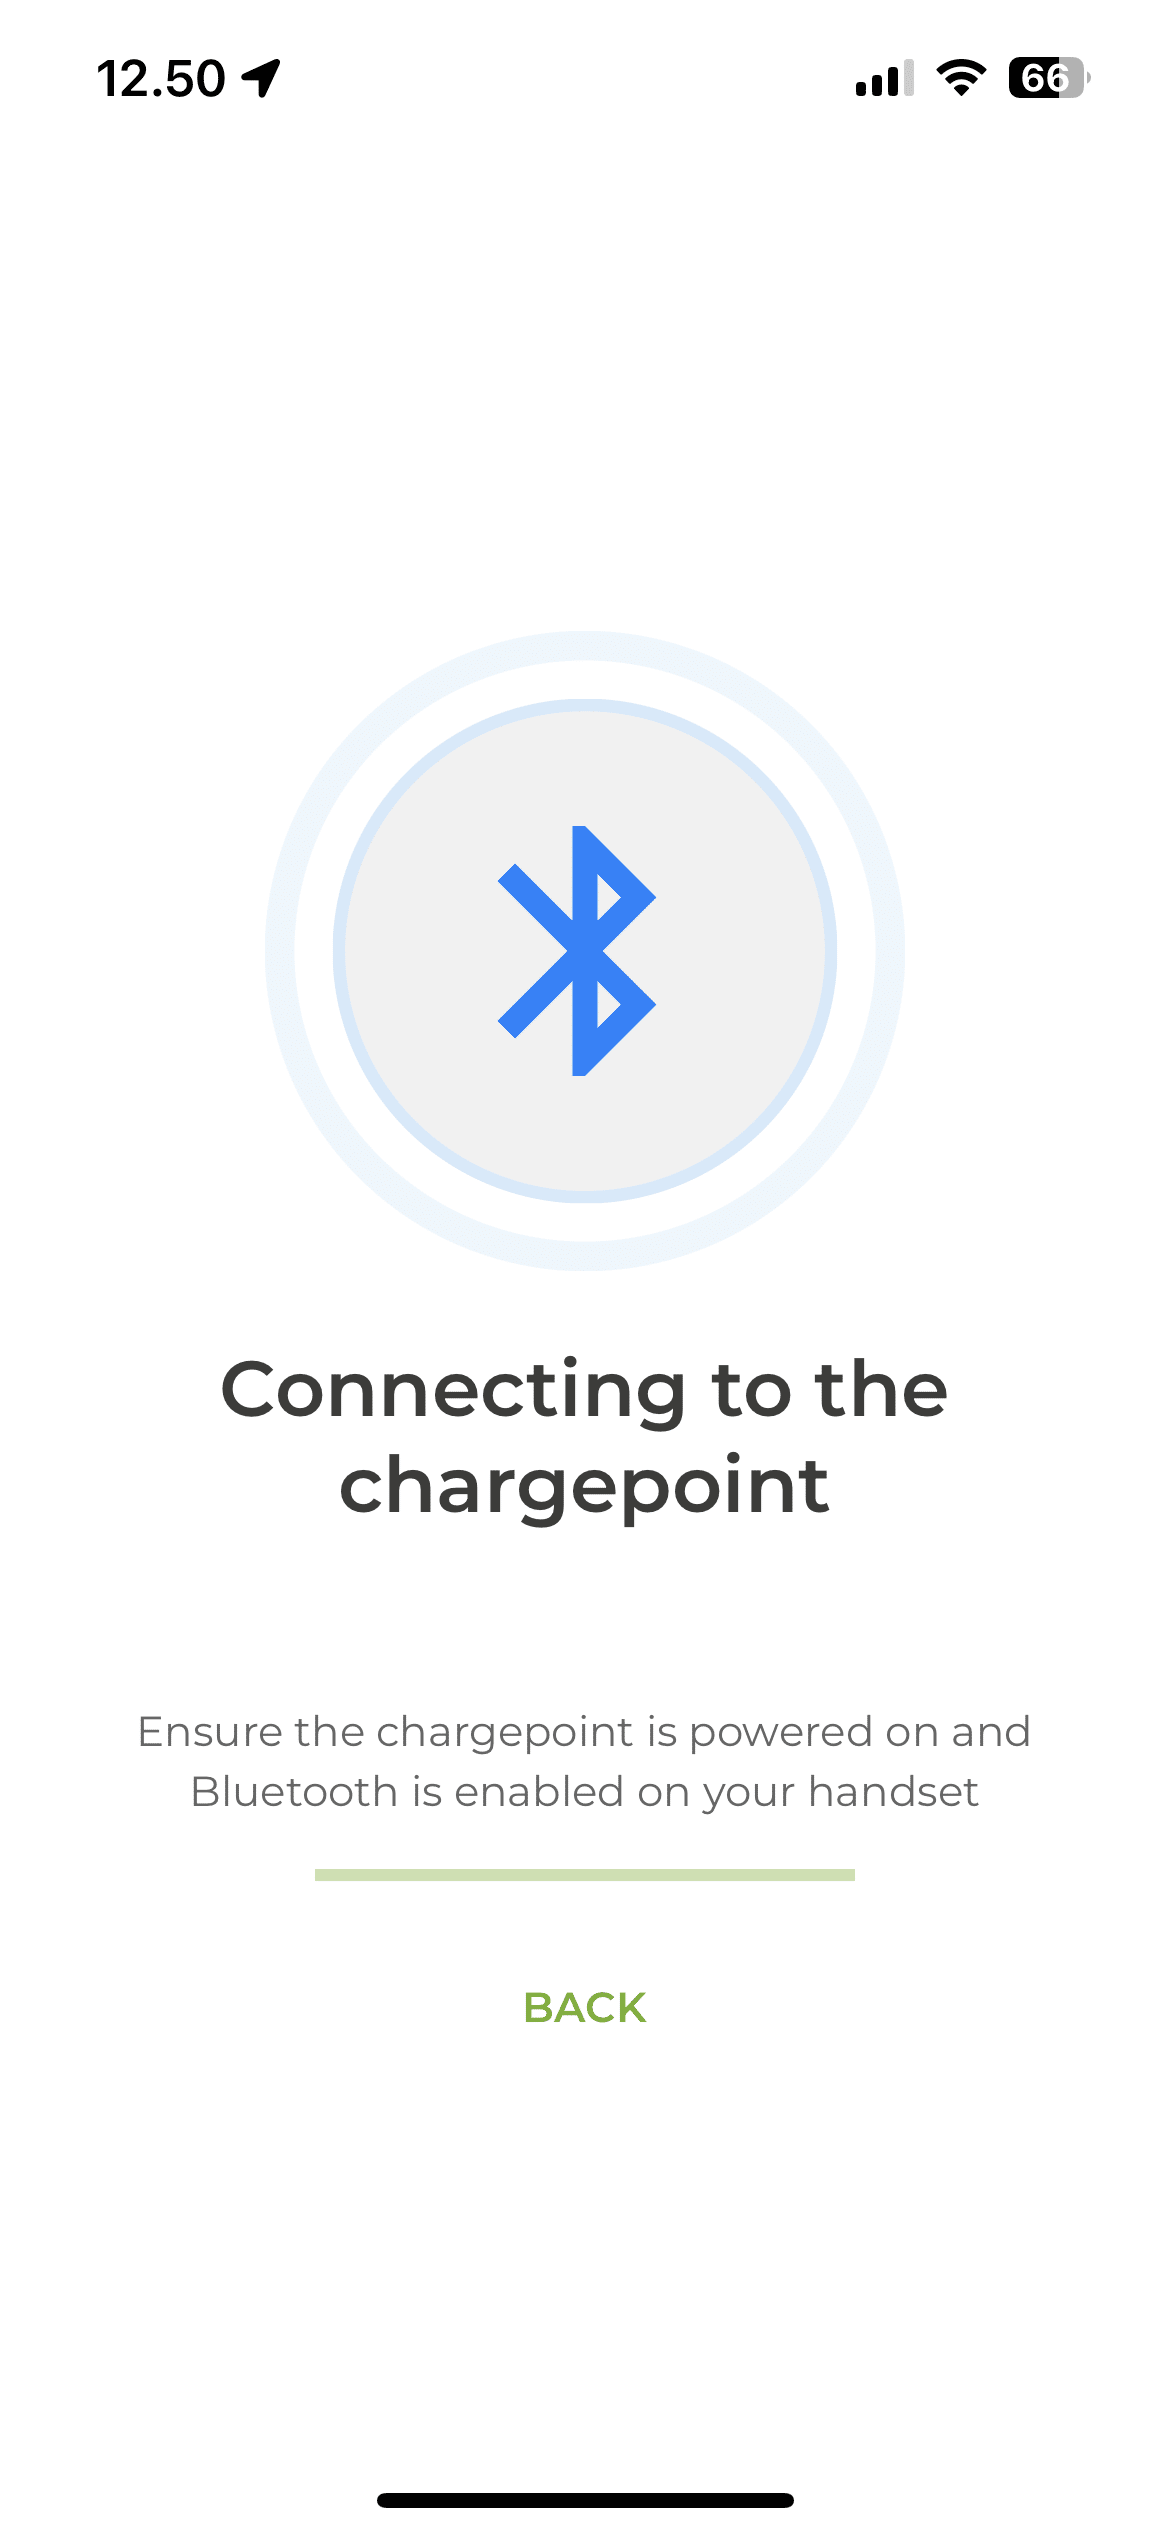
5. Configuring the charge point
Your Rolec charge point will now appear under the selected installation. Click on the charger, if prompted to connect via Bluetooth, please do so.
You will arrive at the page called "Configure your charge point".
All the settings will be listed below:
- Please leave "Charge Point ID" to what is there by default. (which is serial no. of charge point)
- Please configure your charger with the appropriate "Main Fuse"(if using CT clamps) and "Current" according to your installation specifications
- The screenshot below shows settings for connecting the charger to WiFi, called "WIFI_COMM_INTERFACE". If you instead configure the charge point with a SIM card or Ethernet, please change "Network Interface" to the respective selection and apply the appropriate settings.

Press "Set".
- The charge point will now reboot, and apply the settings.
6. Connect the charge point to your Monta Account
Now you need to add and connect your charge point to your Monta account.
You can do this through either Monta Charge or Monta Hub.
Powered by Monta is an easy to follow flow, which Monta has developed with an exclusive set of manufacturers. Click here to read how you can use the flow via your phone.
